The "Workflow" menu
The workflow menu allows users to undertake major actions within the 3D reconstruction workflow, such as starting a new project, completing a reconstruction step or adding photos.
The "New Project" function
By clicking "New project" the current workspace will be cleared and the new project wizard will appear, as shown earlier in the "Starting a new project" chapter.
The "3D Model Generation" function
Starts a new dense point cloud wizard and, after that, a new mesh generation wizard.
The "Textured mesh extraction" function
Starts a new texture mesh extraction wizard. See the "Extracting a surface" chapter as reference. More than one textured mesh can co-exist in the same workspace.
The "Orthophoto from sparse point cloud" function
Starts a new orthophoto creation wizard from sparse point cloud called orthomosaic.
The "Orthophoto from dense point cloud" function
Starts a new orthophoto creation wizard from dense point cloud called orthomosaic.
The "True orthophoto from Mesh" function
Starts a new orthophoto creation wizard from Mesh called "True Orthophoto".
The "Quick Project" function
This dialog allows to quickly start a new project with a compact interface that allows to skip many of the dialogs shown in the classic workflow wizard.
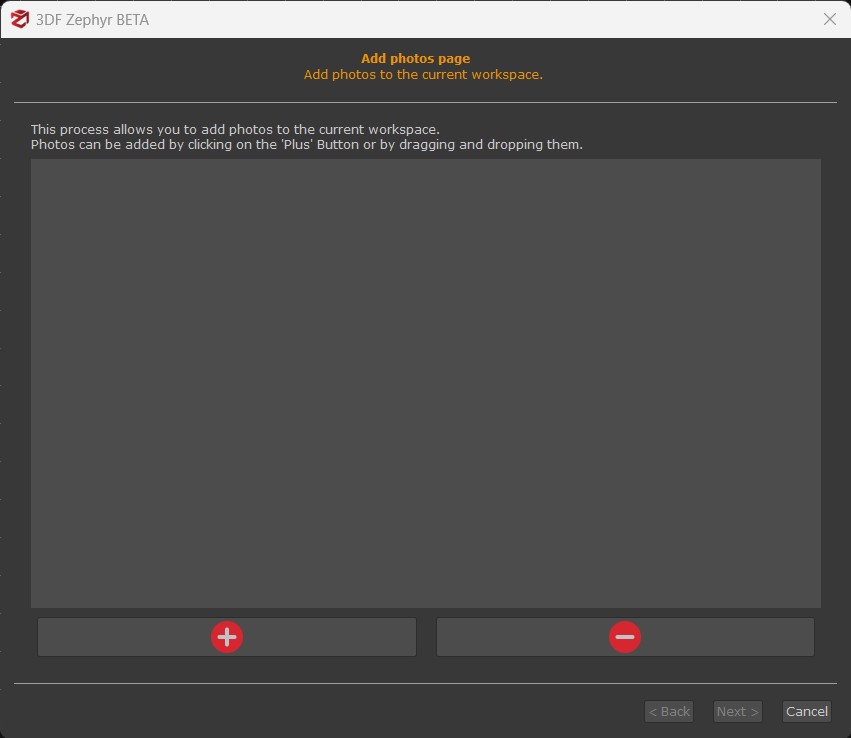
The "Add photos" function
This process allows for adding extra photos to the current project. Pictures must be taken with the same camera rig as the one you previously used for the images you have already processed in the current project. The "Add photos" dialog is similar to the "New project" wizard, so you simply have to add photos by browsing or by dragging and dropping them.
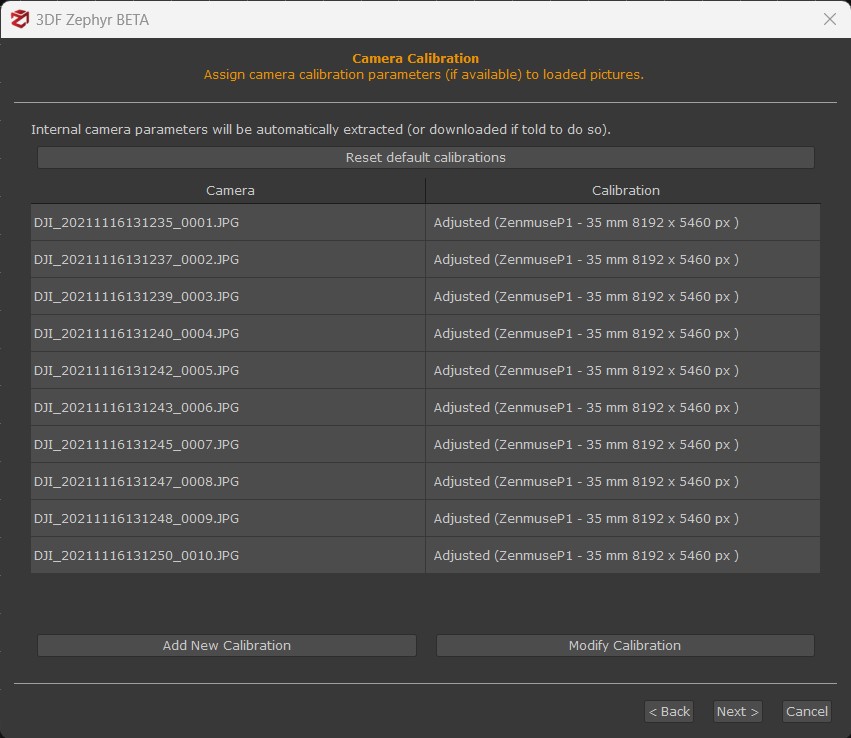
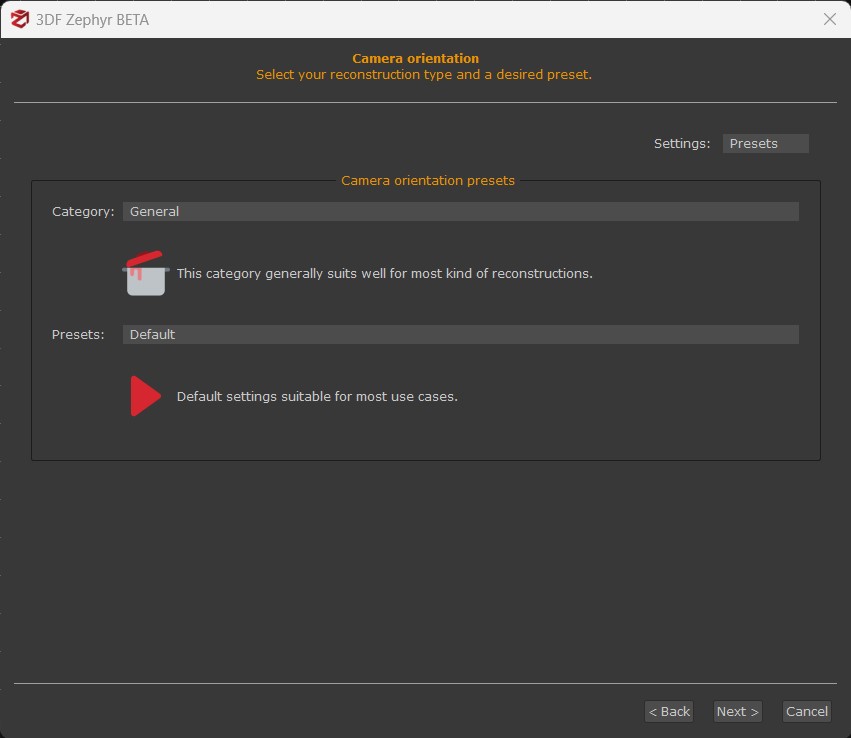
Once the pictures have been imported, click the Next button to scroll the camera calibration page and the camera orientation presets page. Select the category and the presets you want to use, click Next and Run the process.
The Show advanced options section in the last wizard page allows you for manually match the images.
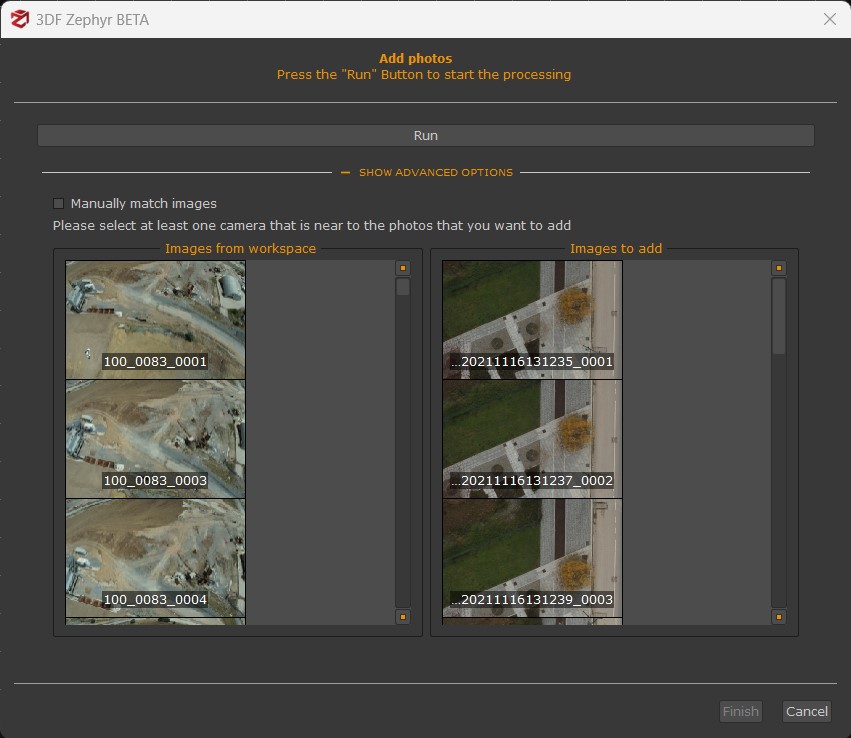
All that is required to do, is to simply select at least one camera on the left panel (by left-clicking it) framing more or less the same area as the one displayed in the photos you want to add. Once done, the new pictures will be listed in the "Cameras" section and the "Sparse point cloud" will be replaced with the new one, computed using the new cameras in the workspace. Any other workspace element (such as dense point clouds and meshes) won't be affected automatically by this action.
The "Add photo with control points" function
Note: at least three control points have to be placed on the 3D model before running this function.
Choose the pictures you want to add to your current dataset. Into the new window you are requested to find the control points you have previously placed on the 3D model as well as to provide the tool with a camera calibration file of that specific picture if it has been captured with different camera settings.
You can reach the same function by right-clicking on a non-oriented picture inside the Project panel and selecting the "Orient selected from control points" option.