Well, after a ton of testing I have had a great deal of success making up for all the issues we are having regarding this software behaving like a DIVA when it comes to which photo's it feels have enough features to process, as well as any blurring. To start with I ran some test where I used several types of targets within the view and found having the targets on the ground (a generous amount) made a significant improvement where the software was throwing out my images. Second, I fixed the camera to specific distance and angle with remarkable performance results (less taxing on the software), Third, I used a white background, which removed the need to mask (Thanks to the ground features, the loss of background features made this possible. End Game the solution: I designed and built from my Z18 Printer and my Mill, a 9 DOF 3D scanning table. The table consist of a 4 and 5th Axis rotory (precision rotation, and very repeatable), a table top directly mounted to the rotory device covered in features (shown is a checkerboard, but I might actually go to a circular grid) The rotory device is captured with a 3D printed housing mounted to a very sturdy Speaker Tripod. The Camera is attached to a 7 DOF articulation arm that allows the Camera to be positioned anywhere (and stay put). The Backdrop is also rigidly mount to the back of the rotory device (Fixed) so the back ground is always in line of sight to the camera. This unit should be up and running by this wednesday ish. Will keep everyone posted and share the result(s) images for all to try out. :-)
-
-
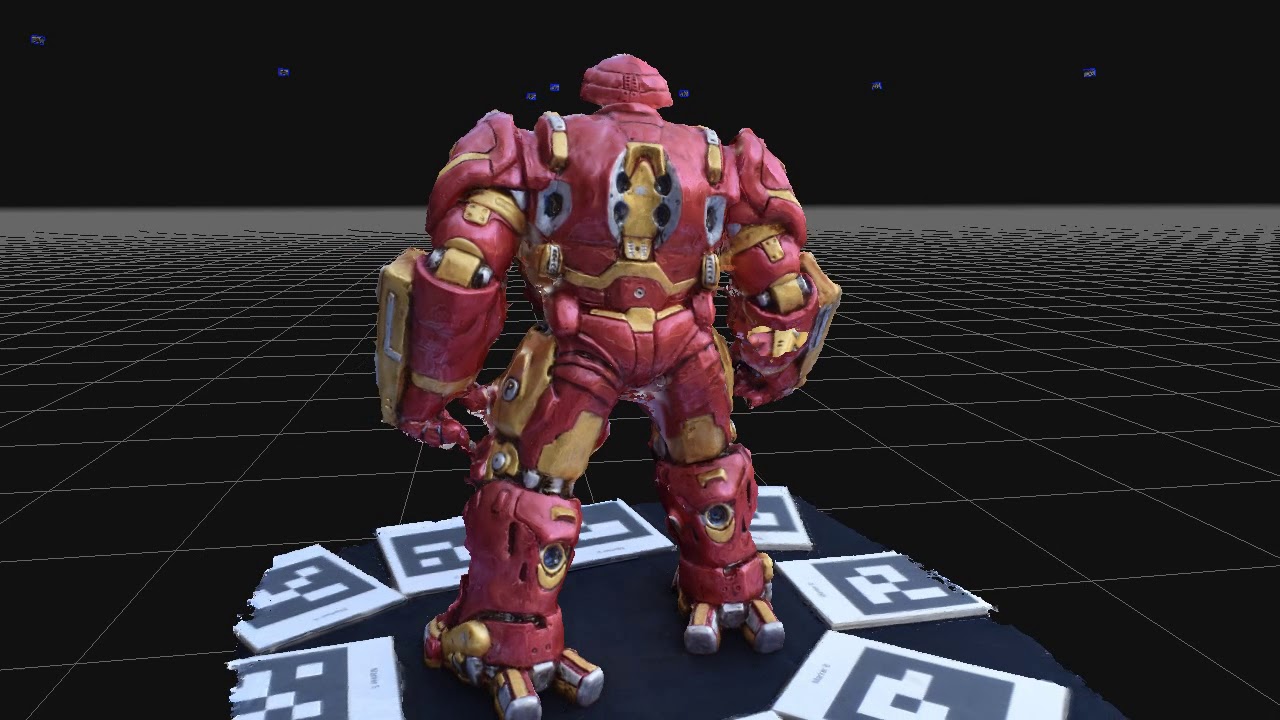
I have shared a link to a small video of my results using only 13 images
https://youtu.be/6muP5FtYJQU
DropBox - I have included the whole IronMan Project including the Mask
https://www.dropbox.com/sh/9pw3e42wk...M25z5z9za?dl=0Last edited by Gregchop; 2018-03-04, 12:09 PM. -
Excellent results with few images! And thank you for sharing your insights
Comment
-
OK...so Table is complete, I actually bought the software....lets see what the results look like. I have added a photo of the table I built, it also has a white backdrop that attaches.Attached FilesComment
-
-
So far so good, it recognized 75 of the 75 images taken, sparse point cloud looks really good
Comment
-
-
Oh wow! Can you share the calibration image you used? I've been Scotch taping the 3dSOM software's callibration image to my turn table.Comment
-
I like your turntable design a lot. I'm in the process of building an automated turntable that uses an Arduino Uno, easy driver stepper driver, 16x2 display and IR LED. The software in the arduino turns the turntable a specified distance, stops, flashes the LED which causes the Nikon to take a photo, rotates the table to the next position, etc., through a full 360 degrees. I've only been turning the turntable manually so far and I haven't tested the automatic part fully yet to determine exactly how long the arduino needs to wait for the Nikon to take the photo. I've used a newspaper background, but I've been thinking that some playing cards might work a little better. I used this as the basis: http://www.instructables.com/id/Buil...nfinite-Resol/Comment
-
Thats funny, I to am working on (Completed the Software and The mechanical) NC controls for my table. I used Ardruino Devices which control the Table rotation (Stepper), camera Controls (Hardline to a D5600 Nikon) and a few other things. I can share with you the schematics and the program if you like. Here is the breadboard, I should have the final Hardboard done by this weekend.
Functions
5 Degree (Manual)
5 Degrees Automatic (Rotates 5 Degrees --> Takes image ---> continues unassisted for 360 Degrees)
Same for 10 Degrees, 15, 30 and 45 Degrees
Laser Grid Controls (2 GREEN Laser Grids projected 180 each side(2), rotates with rotation table)
Manual/Auto Shutter release
Aux. 1 and Aux. 2 (Future expansion for lighting controls)Attached FilesLast edited by Gregchop; 2018-03-27, 09:52 PM.Comment
-
-
I finished and successfully tested mine last night. My BOM was a NEMA 17 stepper motor from an old printer, Arduino Uno, Sainsmart 1602 LCD shield, EasyDriver from Sparkfun, IR LEDs from Amazon. Software from the Instructables url I posted. My builds often stop at the prototype stage and I don't take the time to make them look good. As long as they work, they're generally good enough for me and the dogs.
Attached FilesComment
-
-
Progress so far, I have finished all the Controls and am finishing up on 3D printing now, Table is full automated including Lasers, lights, camera controls, rotation and more. Should have the project done this week complete. Will take some video's of the system running. Am sure many will like the Touchscreen controls and logic
Comment
-
2 more days til project completion.....looking awesomeComment

Comment