The Main Window
When opening Zephyr, the interface layout will look like this:
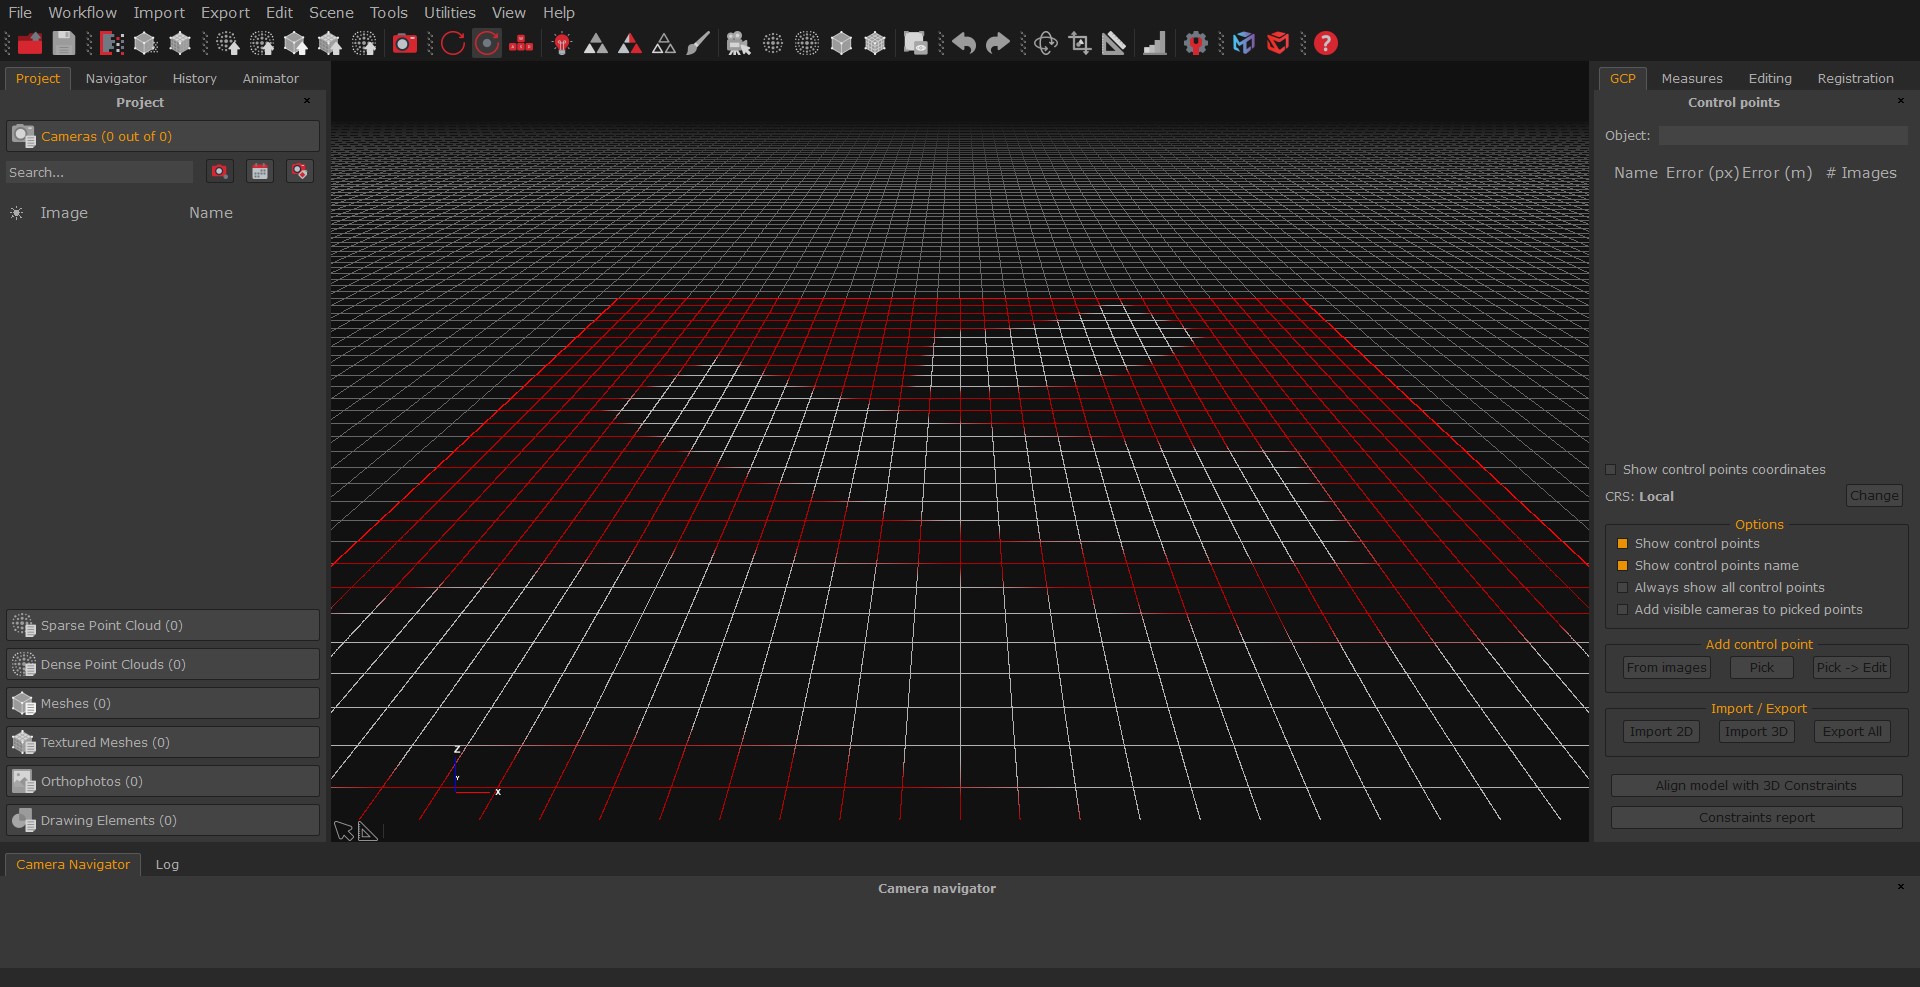
On the upper side, the menu bar and the toolbar give you access to all the basic actions and functionality of Zephyr.
The Render window at the center lets you navigate through the 3D scene. You can also right click on it to open a contextual menu to perform specific actions.
The other windows are completely "dockable"; this means you can move and dock them in any part of the main window. To hide or show a specific dock use the View menu.
An optional toolbar can also be shown at the top or bottom of the 3D scene. This toolbar can give quick access to picking and measurement tools (not available in 3DF Zephyr Lite and 3DF Zephyr Free).
3DF Zephyr always saves and loads the interface layout of your last run. From Tools > Options > Application > Restore Settings you can restore the factory default settings (including the interface layout).
On the left side, in the Project tab you can review all the objects currently loaded in the workspace. The Objects are divided into 4 categories: cameras, sparse point cloud, dense point clouds and meshes. You can remove, rename and edit every object by right clicking on them and selecting the specific action.
The Navigator tab helps you navigate through workspaces.
On the left side you can find the Animation tab, where you are able to create and export video animation of your 3D models.
On the right side there are the Control Points tab, the Measures tab, the Registration tab, and the Editing tab as well.
On the same tab, the History tab lets you review, undo and redo the performed actions.
The Navigation bar is located at the bottom alongside the thumbnails of the photos loaded in Zephyr and the Log panel.