Starting a new project
Got the photos? Then you are ready to begin the reconstruction process!
To create a new project, just click on Workflow > New Project (1) . The Project Wizard (2) will guide you through the picture import and the camera orientation phase setup.
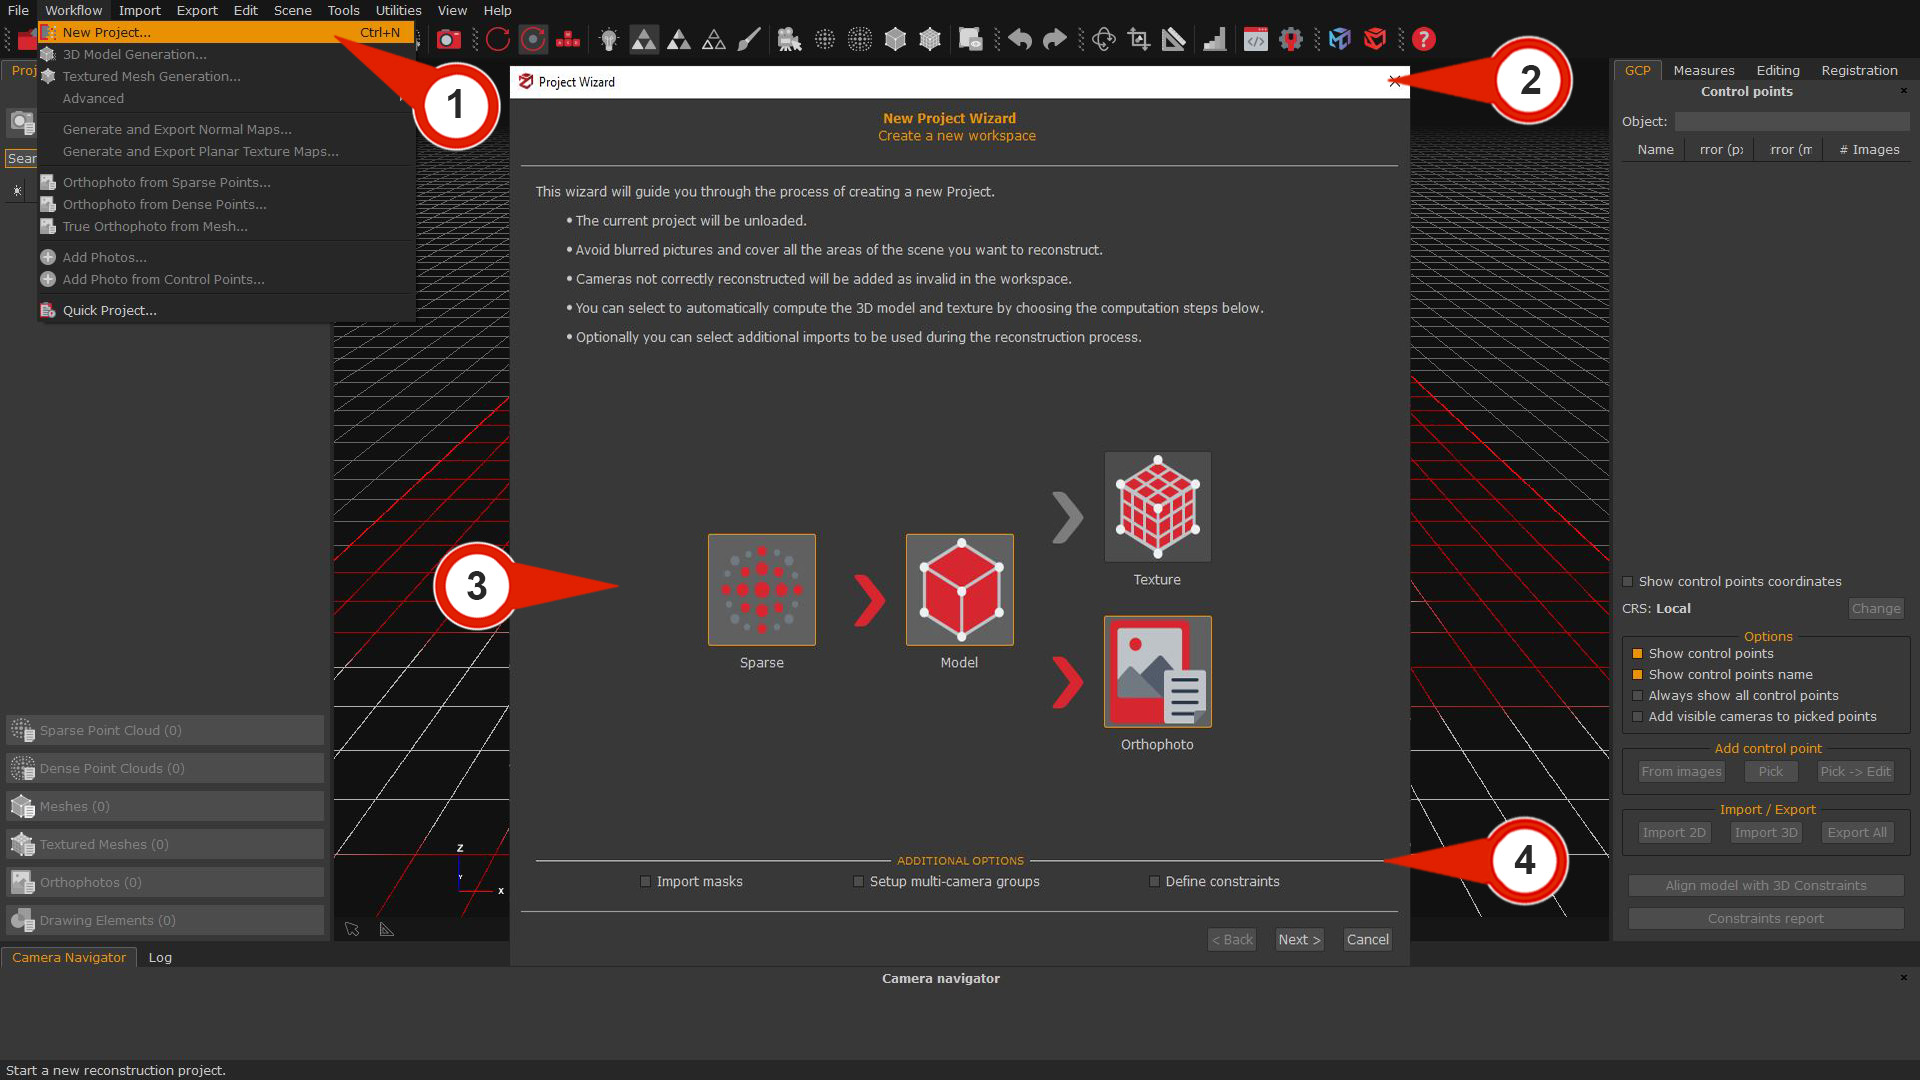
In the Computation Steps (3) section, you can select which 3D reconstruction phases to run in addition to the camera orientation phase by clicking the corresponding icons. For example, enabling the Model icon will instruct the software to automatically process the sparse point cloud, dense cloud, and mesh generation in sequence, pausing afterwards to let you review the result before proceeding with textured mesh generation.
If you don't need to import control points, camera coordinates or image masks, simply click the "Next" button to go through the wizard.
The "Additional Options" (4) section allows for importing and dealing with image masks, control points (2D and 3D coordinates), camera coordinates, and setup camera groups.
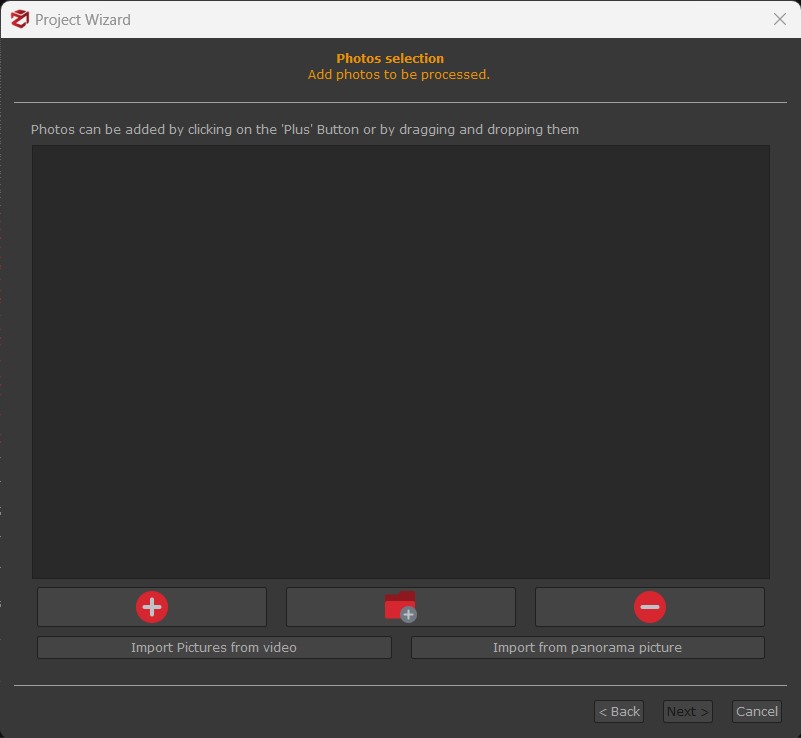
The "Photos selection" page will follow: it is possible to drag 'n' drop the files - or related folder(s) - into the window or click the "+" button to select the desired path. You can also add a specific directory including the pictures.
You will likely use JPG or PNG files, but you may also use raw file formats such as NEF, CR2, ARW2, etc. Please, remember that raw files are generally slower to load.
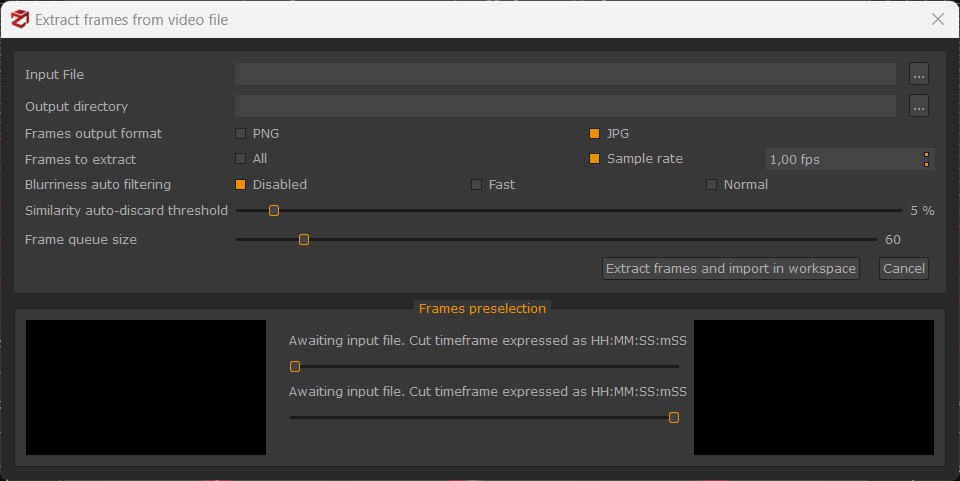
The "Import pictures from video" tool will extract a number of frames from the video file you have selected. These frames will go through the same process as the one for standard images.
This tool allows for setting:
- the frames output format (.png, .jpg);
- the frame rate (fps) to be extracted;
- the blurriness filter to discard low-quality frames;
- the similarity threshold to discard too akin frames;
Also, it's possible to cut those video parts you don't want to consider during the frame extraction.
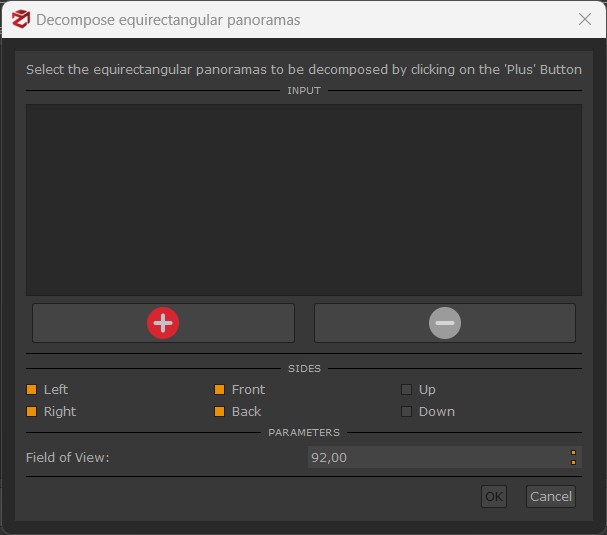
The "Import from panorama picture" tool will split each imported 360° picture in six equirectangular images. Once the pictures have been imported, users can pick the sides of the pano pictures to extract by clicking the "plus" button. They can also set the field of view of the equirectangular pictures.
Once you have selected the data you want to process, click the Next button to get to the Camera calibration page. You will notice a list of the pictures you have imported and their calibration recap that 3DF Zephyr - and its Structure from Motion algorithm specifically - will leverage.
You can select/deselect the pictures by clicking on their name or right-clicking the window and picking the desired option from the menu.
From this page, you can Add a New Calibration or eventually modify the Calibration that 3DF Zephyr has automatically selected.
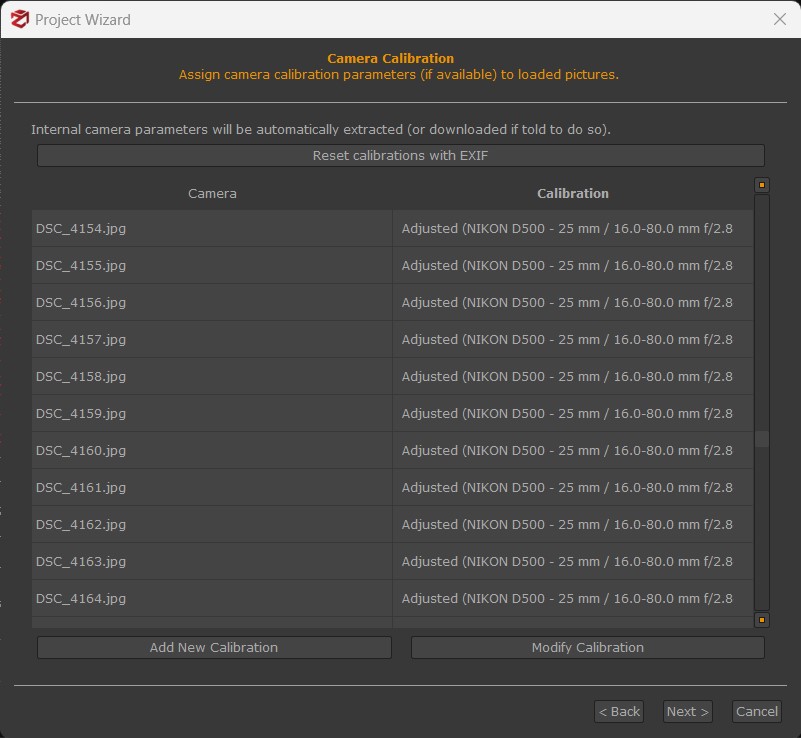
Zephyr is 100% auto-calibrated, so in most cases you don't have to do anything at this point. However, you can click the "Modify Calibration" button if you have previously calibrated your camera equipment.
In the Modify Calibration page, you can select what camera setup will be edited (if the loaded pictures have been taken with different cameras/lenses), and define the camera's internal parameters.
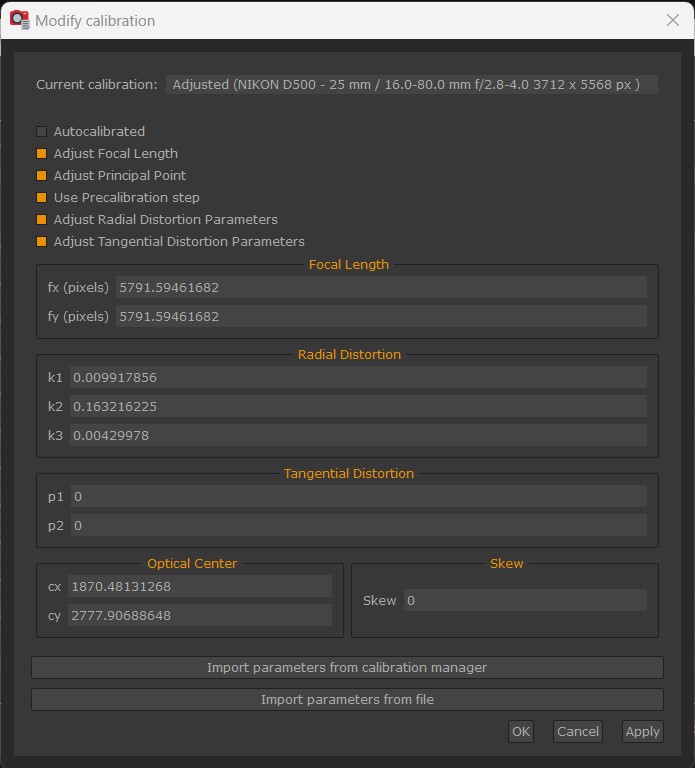
You can load calibration files (.txt, .xml) created with an external application or the 3DF Zephyr calibration tool (Utilities > Images > Camera calibration), by clicking the "Import parameters from file" button.
By clicking the "Import parameters from calibration manager" button, you can import the camera parameters you have previously loaded in the Camera Calibration Manager tool (Utilities menu).
TIP: If you have imported wide-angle or fish-eye pictures and have issues with the camera orientation phase, enabling the "Adjust tangential distortion parameters" option is recommended.
Once the calibration step has been completed you simply need to set up and run the camera calibration phase.