Extracting a dense point cloud
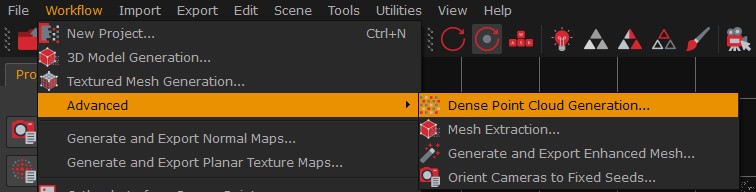
To start the process simply click on Workflow > Advanced > Dense Point Cloud Generation or click on the corresponding icon in the toolbar.
As of 3DF Zephyr 4.5 it is possible to access the dense cloud generation from the "Advanced" menu if need be. Repeating the dense point cloud generation using the generated model as an input for the dense cloud generation algorithm may yield better results, as a consequence of applying the photoconsistency-based optimization algorithm.
Advanced parameters are explained in detail below.
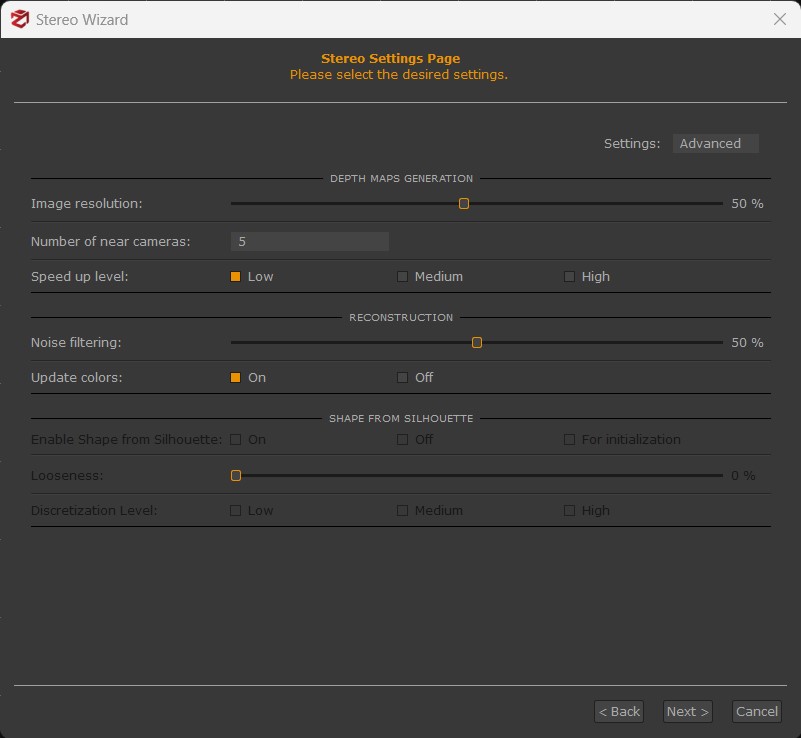
- Image resolution: defines the resolution used for the pictures. A higher resolution keeps more details, but it may produce noisy results if using low-quality photos. Processing time is strictly related to this parameter.
- Number of nearest cameras: the number of cameras used to create depth maps that is also linked to the number of oriented pictures. You should increase that value if you calculate that there are N photos for each camera that are aiming at the same point of the scene. Increasing the number of cameras may increase the processing time.
- Speed up level: allows a speedup factor that can be determined by preemptively discarding redundant pixels.
- Noise filtering: low values will produce much denser point clouds but with noisy areas, whereas high values will produce cleaner clouds with fewer endpoints.
- Update Colors: updates colors once the computation is done.
- Shape from Silhouette: (feature available only in the full version of Zephyr) this is an image-based modeling technique that uses the profile, or silhouette, of the subject to create a virtual hull containing the subject. You must create the masks for all the pictures before running the dense point cloud generation phase using this option. This technique can be quite worthwhile when you need to deal with transparent or reflective surfaces which cannot be removed with 3DF Masquerade.
- Discretization Level: this parameter defines the level of accuracy of the dense cloud when it is extracted from masked images. Higher values will produce a more defined dense cloud, whereas lower values might be the best choice when masks are not super accurate.
Once you have defined the above settings, you can start the process by clicking the "Run" button.
3DF Zephyr uses multiple neighbors per reference camera during the multi-view stereo (MVS) process, leveraging three or more overlapping photos when available (sometimes referred as "multi-ray matching").
This is controlled by the "NumberOfNearestCameras" setting in the custom settings page. By default and in most presets, it's 4, meaning up to 5 cameras (the reference + 4 neighbors) can contribute to a single 3D point in a single depth map. Even if an area is viewed by only two cameras, it will still generate 3D points. However, areas with 3-4 cameras have much stronger support. This and all other settings can as usual be tweaked in the custom settings.
A further description of the advanced settings is available here: http://www.3dflow.net/3df-zephyr-parameters-tuning-guide/