Extracting a mesh
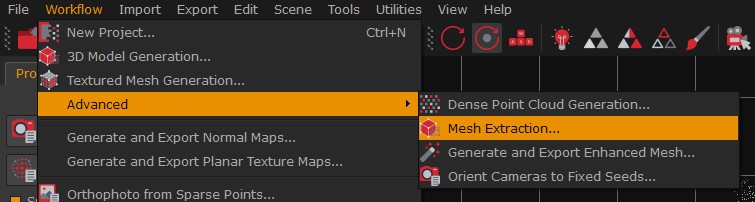
To start the process simply click on Workflow > Advanced > Mesh extraction or click on the corresponding icon in the toolbar.
In the new window you need to select the dense point cloud you want to use to start the mesh generation. That is because you can create more dense point clouds in Zephyr.
Advanced parameters are explained in detail below.
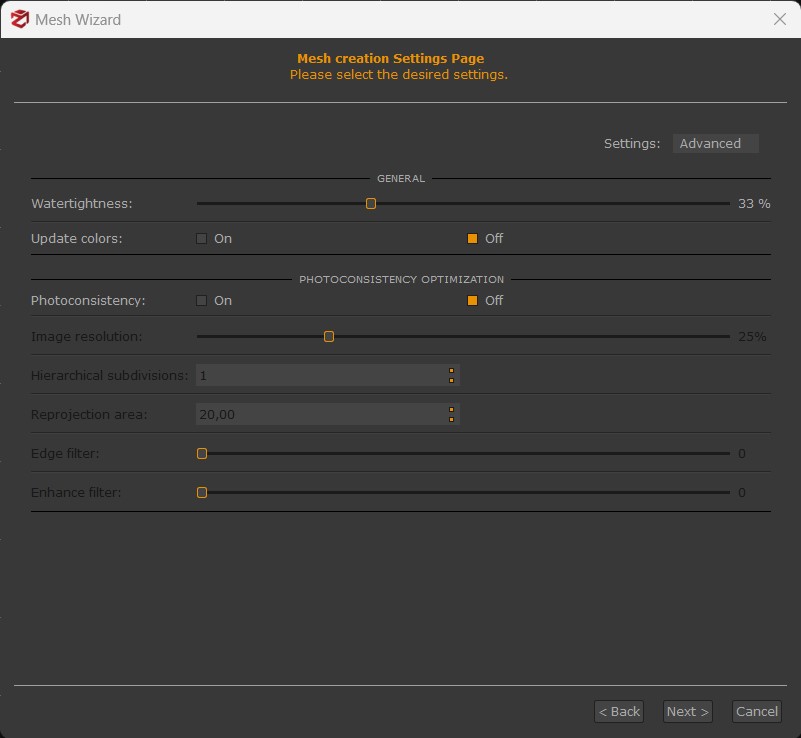
- Watertightness: higher values will tend to close more holes.
- Update colors: updates colors once the computation is done.
- Photoconsistency-based Optimization: this algorithm improves the mesh details extracted by the mesh algorithm, and although it will require extra computation time, it's generally worth using it. Usually, you can get better results if the image resolution of the photoconsistency-based optimization is higher than the resolution used in the stereo step. You may also run the photoconsistency-based optimization as a mesh filter from Tools > Mesh filters. The same Photoconsistency parameters can also be found in the context menu to the workspace window’s right, from the Editing tab > Filtering > Photoconsistency.
- Image resolution: controls the image's scale resolution used internally by the photoconsistency algorithm. If you already have suitable initial geometry, it is reasonable to run the photoconsistency with a high resolution (50% – 75% ). If the input is of poor quality, it is advisable to leave a low resolution (25%).
- Hierarchical subdivision: if this value is greater than 0, the photoconsistency algorithm will be sequentially applied more times, automatically adjusting the image resolution and the iteration number. This means that the same results can be obtained by running the same algorithm multiple times with different and appropriate settings. More details on this setting are available at https://www.3dflow.net/tutorial-point-cloud-and-mesh-filters/
- Reprojection area: controls the size that every triangle will try to obtain at the end of the photoconsistency process. Given a triangle, its final reprojection area (in pixels) to the nearest camera will tend to get near the specified value. Lowering this value will make a denser mesh: the final mesh will then have a variable level of detail, with a higher vertex point cloud corresponding to those areas viewed by nearer cameras. In most cases, the default value will work well; in case you are dealing with a mesh that is already very good (for example, one that has already finished a photoconsistency step). This parameter can be lowered to get more detail; instead, it can be raised in very noisy meshes and low-quality images.
- Edge filter: it is a post-processing method that can generate “fake details” by increasing the number of mesh triangles. Depending on the result you want to obtain and the photo’s quality, you need to carefully adjust the slider to avoid creating additional noise instead of additional details.
- Enhance filter: this parameter is used to emphasize edges; the more the mesh is angular (buildings, objects, etc.), the more you can increase this value. Usually, it can be kept at a value of 0.5.
You can start the mesh reconstruction by clicking on Next and then on the Run button.
Timing may vary depending on the number of polygons you have previously selected.
You can create several surfaces in the same Zephyr project using different parameters.
A further description of the parameters above is available here: http://www.3dflow.net/3df-zephyr-parameters-tuning-guide/