Texture generation
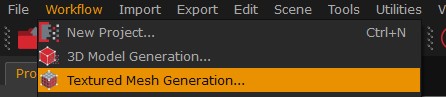
The fourth and last 3D reconstruction step allows to run the textured mesh generation. Simply click Workflow > Textured mesh generation.
Like the previous 3D reconstruction steps, the textured mesh generation phase can also be set using categories and presets, advanced or custom modes.
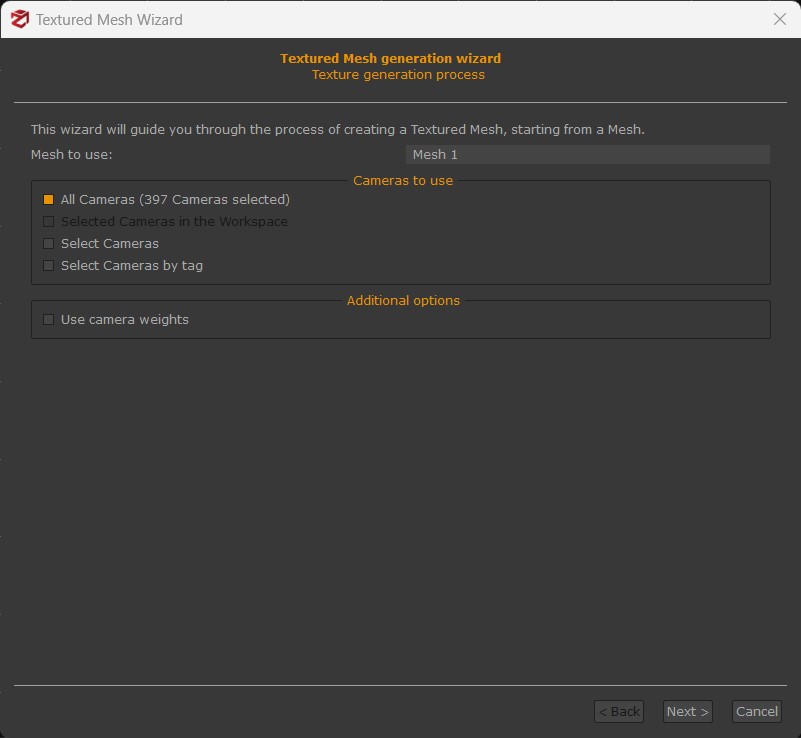
The first page of the textured mesh generation allows to pick the cameras to be used for the texture creation. You will notice the "All cameras" option is enabled by default, however, you can select a subsample of pictures choosing the "Select cameras" or the "Select cameras by tag" options. You can also manually select the cameras in the workspace by first using the camera selection tool from the Editing panel.
The "Use camera weights" option may be enabled if you want to assign a specific reliability value (0.1 to 1.0) for each camera. Please, consider that weights are taken into account along with the camera visibility for each polygon.
Click the "Next" button when you are done.
Categories and Presets for the textured mesh generation are described below.
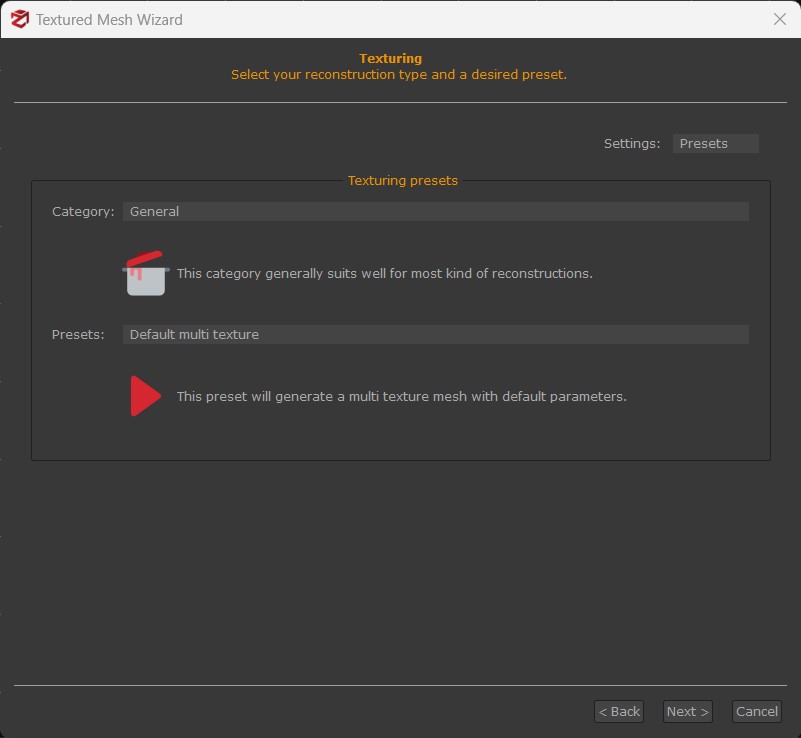
Textured mesh categories
- General: works in most cases.
- Vertical Structure: use this category to reconstruct BTS / telecommunication towers or other thin vertical structures from UAV pictures.
Textured mesh presets
- Low Poly: generates a single, low poly textured mesh.
- Default Single Texture: generates a single textured mesh with default parameters.
- Default Multi Texture: generates a multi textured mesh with default parameters.
- High details: generates a multi textured high-resolution mesh.
The below wizard will appear when selecting the "Advanced" settings from the drop-down menu on the upper right corner:
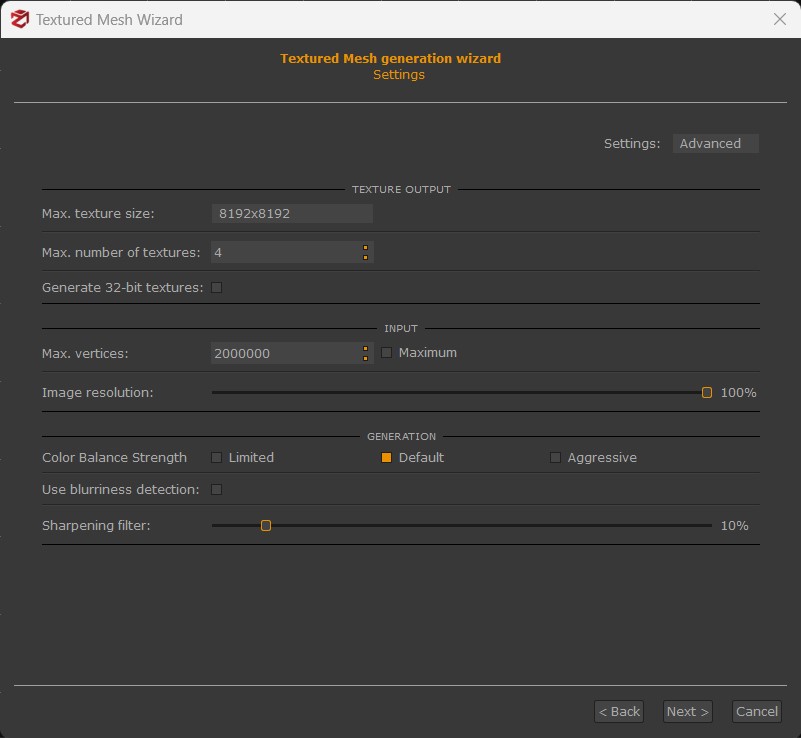
Max. texture size: sets the maximum size of the texture. Please note that a two-value power is not guaranteed, as it is just a higher limit value, although Zephyr will make it a power of two when the input images allow it to do so. Nevertheless, selecting a resize is possible when exporting the textured mesh (see the "Export menu" chapter).
Maximum number of textures: defines how many textures will be generated.
Generate 32-bit textures: enable this texture to save as 32-bit textures. If unsure, leave this unchecked, as it is used in specific workflows.
Max. vertices: defines how many vertices of the mesh are involved in the texture generation.
Image resolution: sets the resolution percentage for the texture generation process.
Color balance strength: adjusts the color balance strength according to the exposure values of the pictures.
Use blurriness detection: every picture contribution for each triangle will be weighted depending on its blurriness. That is useful when some of your photos are slightly blurred (e.g., the picture background).
Sharpening filter: weight of the sharpness filter that should be applied to the output texture(s).
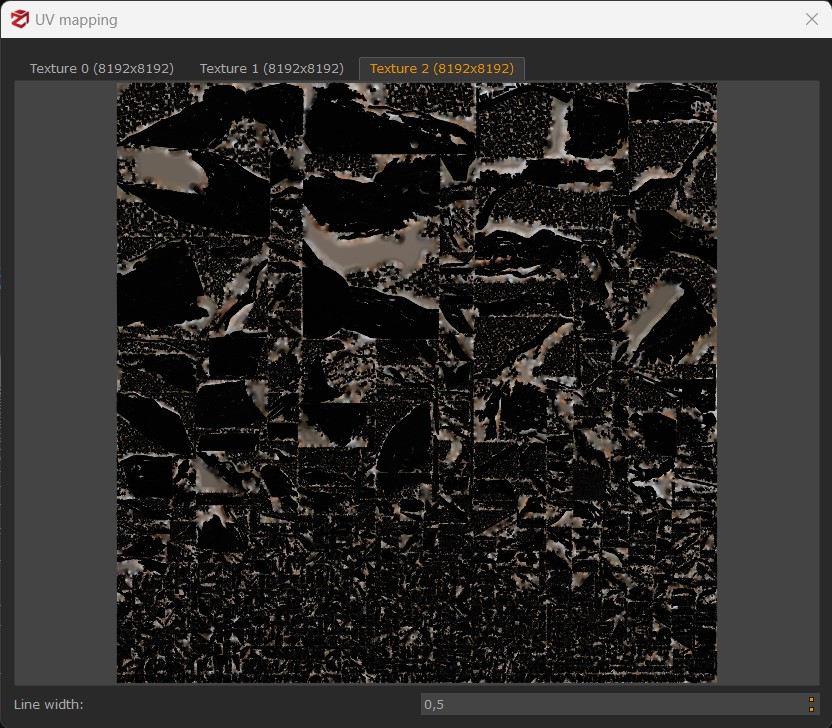
You can see the texture UV maps by right-clicking the textured mesh name in the Project panel and selecting the "View UV mapping" option.
UV maps are wrapped, so remember you can export a mesh, define your own UV mapping in an external software (e.g., Blender) and re-import the mesh to generate the texture again using your own custom UV maps from the "Import" menu ("Import mesh with UV map" tool).