3D Model Generation
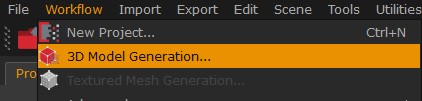
To start the process, simply click on Workflow > 3D Model Generation or click on the corresponding icon in the toolbar after the camera orientation phase has been completed.
Tip: Before starting the 3D model generation, it is advisable to set the 3D reconstruction volume by editing the Bounding Box. This step is an optional one as the bounding box is automatically generated. By adapting the bounding box, you can improve the results and speed up the computation time.
The first page of the 3D model generation wizard allows to pick the cameras to be used for the dense point cloud creation. You will notice the "All cameras" option is enabled by default, however, you can select a subsample of pictures choosing the "Select cameras" or the "Select cameras by tag" options. You can also manually select the cameras in the workspace by first using the camera selection tool from the Editing panel. Click the "Next" button when you are done.

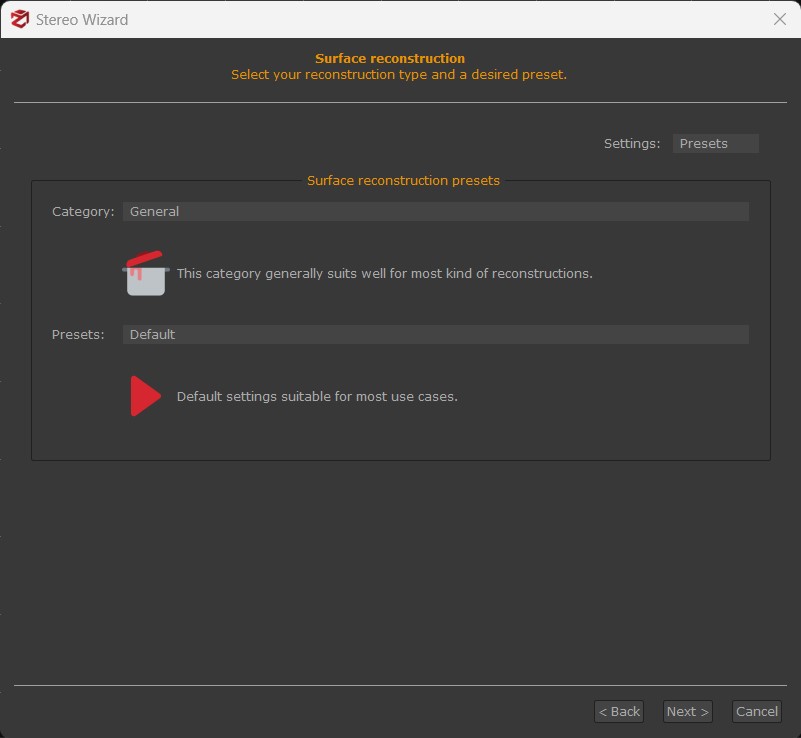
Like the first 3D reconstruction step, the dense point cloud creation and the mesh generation phases can also be set using categories and presets, advanced or custom modes.
While categories and presets are described below, for the advanced settings please refer to this document for the dense point cloud generation, and this document for the mesh creation.

Dense point cloud categories
- General: works in most cases, to be picked even when you are undecided about which category to use.
- Aerial - Nadiral images: use this category when you are reconstructing a top-down view scenario, typically a UAV dataset.
- Urban: use this category if the pictures have not been taken from the same distance from the subject/scene, or if you have mixed different types of photos.
- Human Body: use this category when you are scanning human body parts, including closeups or full figures.
- Surface Scan: use this category to reconstruct flat surface closeups, like terrain or ground.
- Vertical Structure: use this category to reconstruct BTS / telecommunication towers or other thin vertical structures from UAV pictures.
Dense point cloud presets
- Preview: this preset skips the Stereo phase and uses the sparse point cloud as the dense point cloud.
- Default: to be used in most cases.
- High details: higher resolution, slower but produces a more dense point cloud.
Mesh generation categories
- General: works in most cases, to be used even when you are undecided about which preset to use.
- Aerial - Nadiral images: use this category when you are reconstructing a top-down view scenario, typically a UAV dataset.
- Urban: use this category if the pictures have not been taken from the same distance from the subject/scene, or if you have mixed different types of photos.
- Human Body: use this category when you are scanning human body parts, including closeups or full figures.
- Surface Scan: use this category to reconstruct flat surface closeups, like terrain or ground.
- Vertical Structure: use this category to reconstruct BTS / telecommunication towers or other thin vertical structures from UAV pictures.
- Laser Scan: Use this category to extract meshes from laser scans point clouds.
Mesh generation presets
- Preview: default settings with no photoconsistency optimization.
- Default: to be used in most cases.
- High details: increased resolution during photoconsistency, slower but produces a mesh with more polygons.
Once you have defined the above settings, you can click the "Next" button first and the "Run" button afterward.
The dense point cloud generation places the greatest demands on hardware capabilities along with the camera orientation phase.
Remember that you can reconstruct and add more dense point clouds and meshes in the same Zephyr project, even leveraging different parameters or reconstruction volumes.