Tutorial #03 : when and how to use the masking tool
Using the masking Tools
Welcome to the 3DF Zephyr tutorial series.
This tutorial explains how to automatically create masks in Zephyr and use the 3DF Masquerade tools for image masking.
The tool is available in all versions of 3DF Zephyr.
Summary
Introduction
3DF Masquerade is a standalone external tool included with all versions of 3DF Zephyr. It is designed primarily for masking images in photogrammetry turntable scenarios.
The masking actions performed by the user in Masquerade can instruct Zephyr to completely ignore certain areas of the images during the New project creation workflow. This means:
- – Zephyr will not use the masked areas to search for features or create matches between images.
- – Zephyr will not use the masked areas to compute the dense point cloud or mesh from the respective image.
This is particularly useful in cases of significant background noise or when the subject moves inconsistently with the background. A common scenario occurs when a subject is captured on a turntable: as the object rotates while the background remains stationary, Zephyr may attempt to align the camera with the background instead of the subject if the background contains enough features. The recommended solution is to mask the background using 3DF Masquerade before processing the images.
The provided dataset below can be used to follow this tutorial.
 | Dataset Download – Dismal Souvenir (284MB) |
Starting 3DF Masquerade
3DF Masquerade can be launched as an external executable and used independently from 3DF Zephyr. Here are the methods:
- From the 3DF Zephyr workspace:
- From the New Project Wizard:
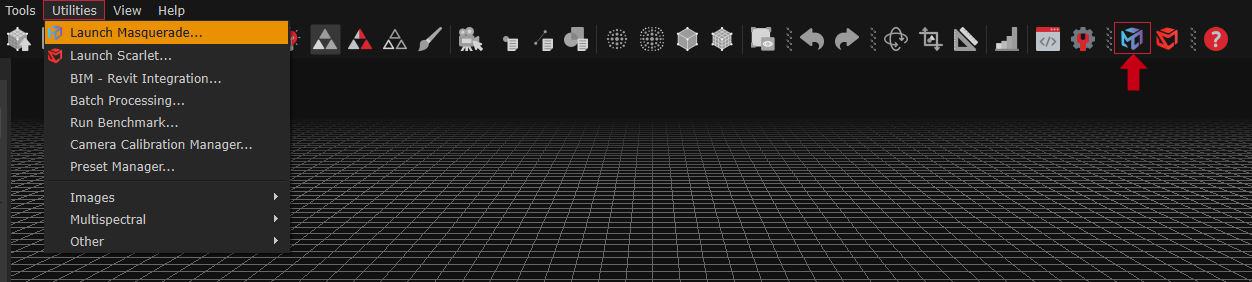
– Via the bar menu: navigate to Utilities > Launch Masquerade.
– Via the toolbar: click on the Masquerade icon.
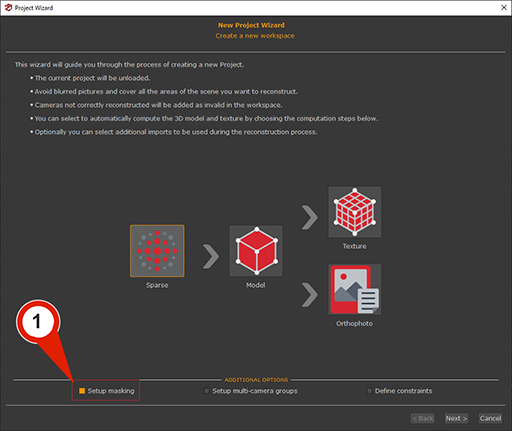
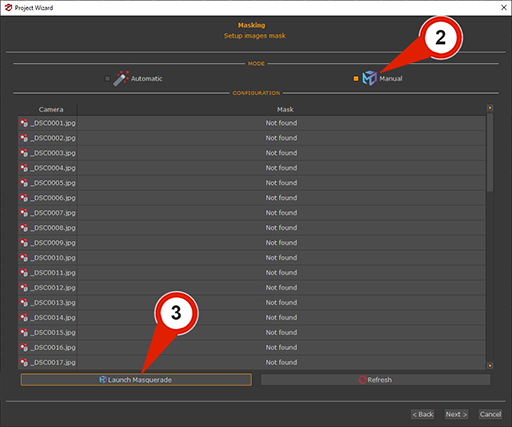
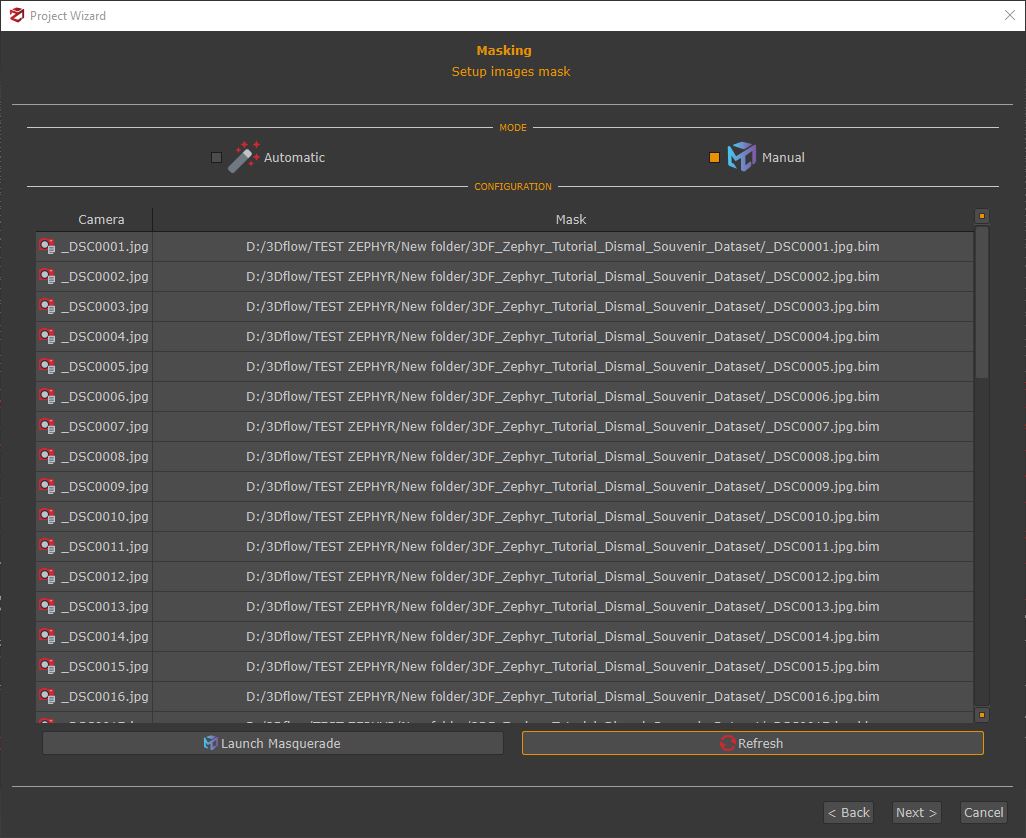
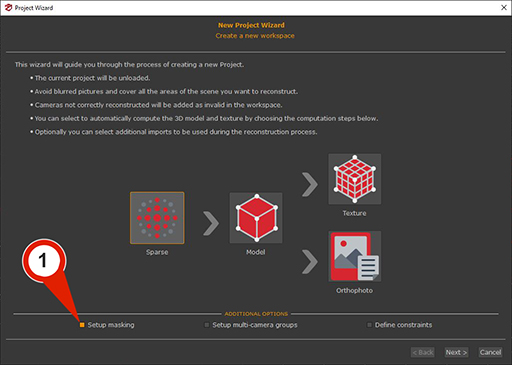
In the first page of the New Project Wizard, the “Setup masks” (1) checkbox must be selected. Clicking the “Next” button make to advance in the photo selection phase, where images and masks can be loaded automatically. Clicking “Next” again proceeds to the Masking phase, where selecting the checkbox Manual (2) let the “Launch Masquerade” (3) button becomes available.
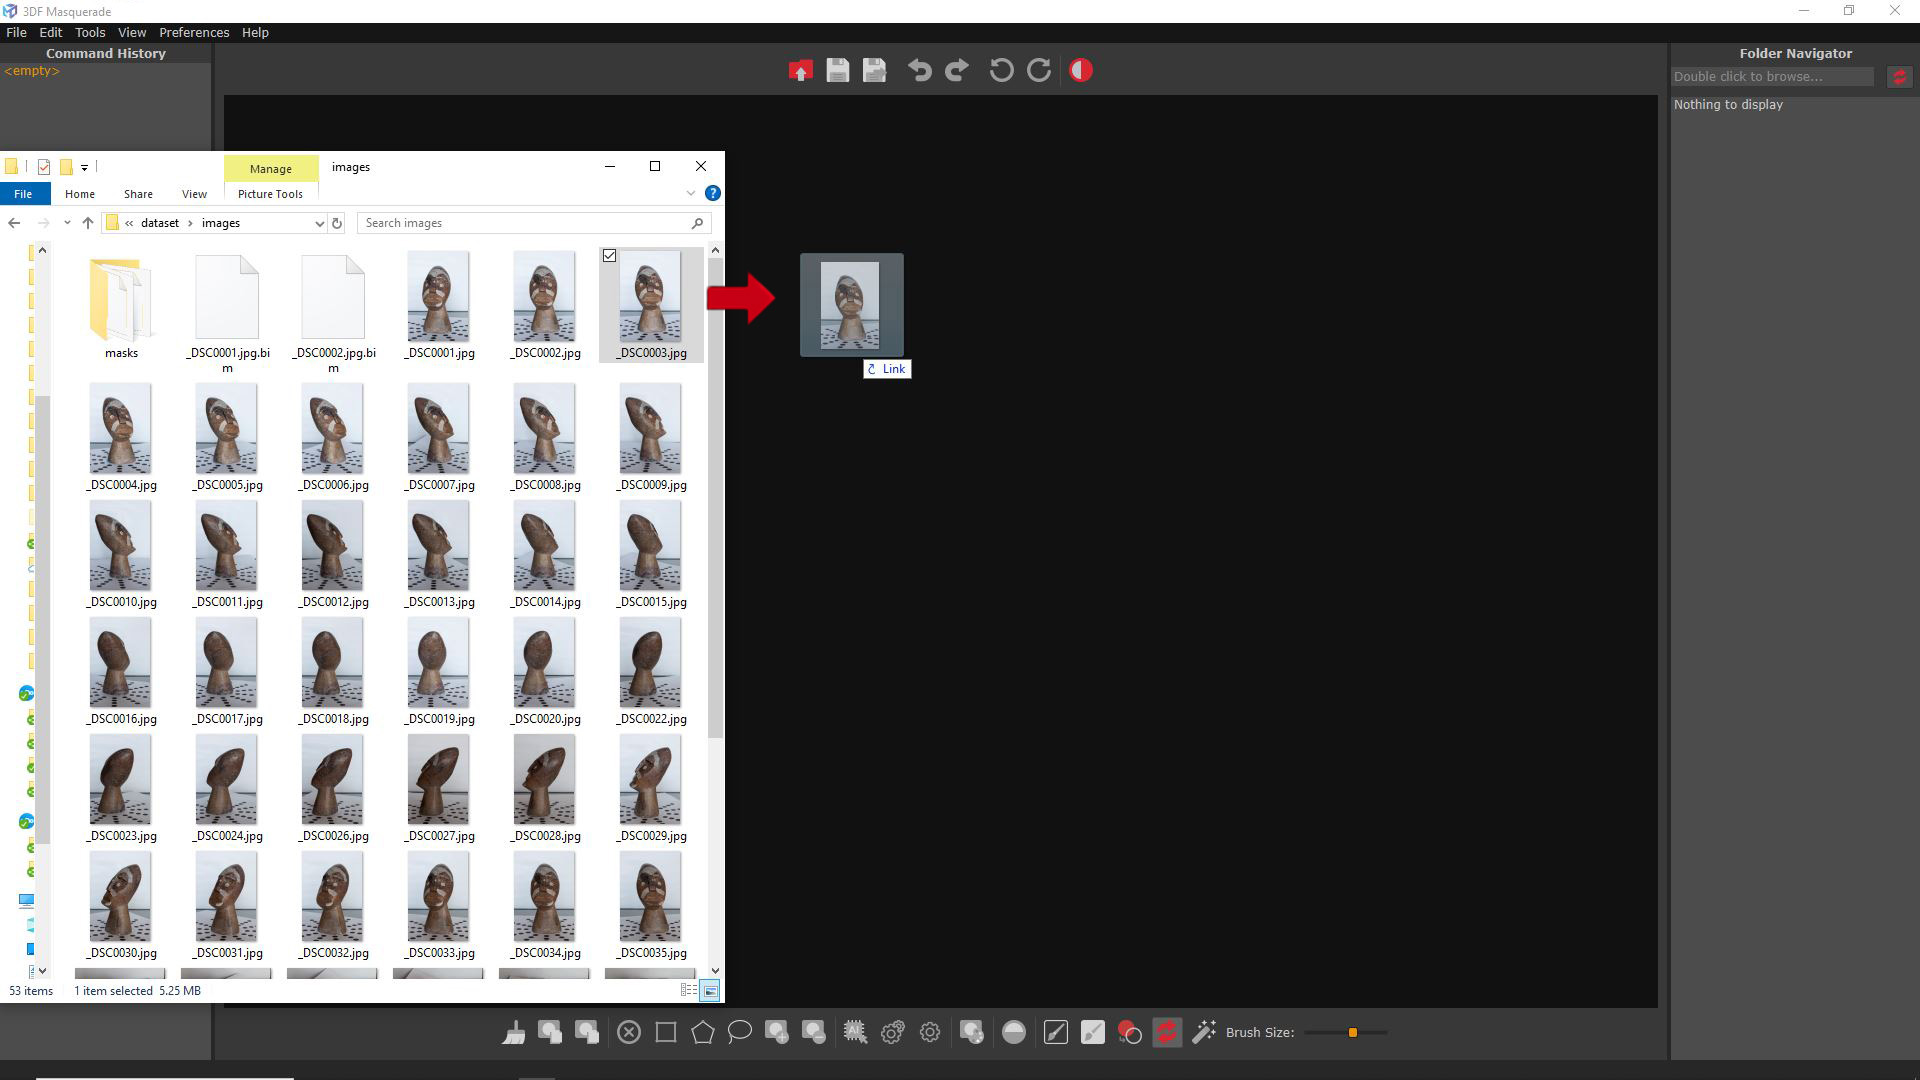
Images can be loaded inside Masquerade from the menu: File > Load image.

Alternatively, it’s possible just to drag and drop the first image in the workspace to load all the images in a folder.
3DF Masquerade interface
The 3DF Masquerade interface is divided into these sections:
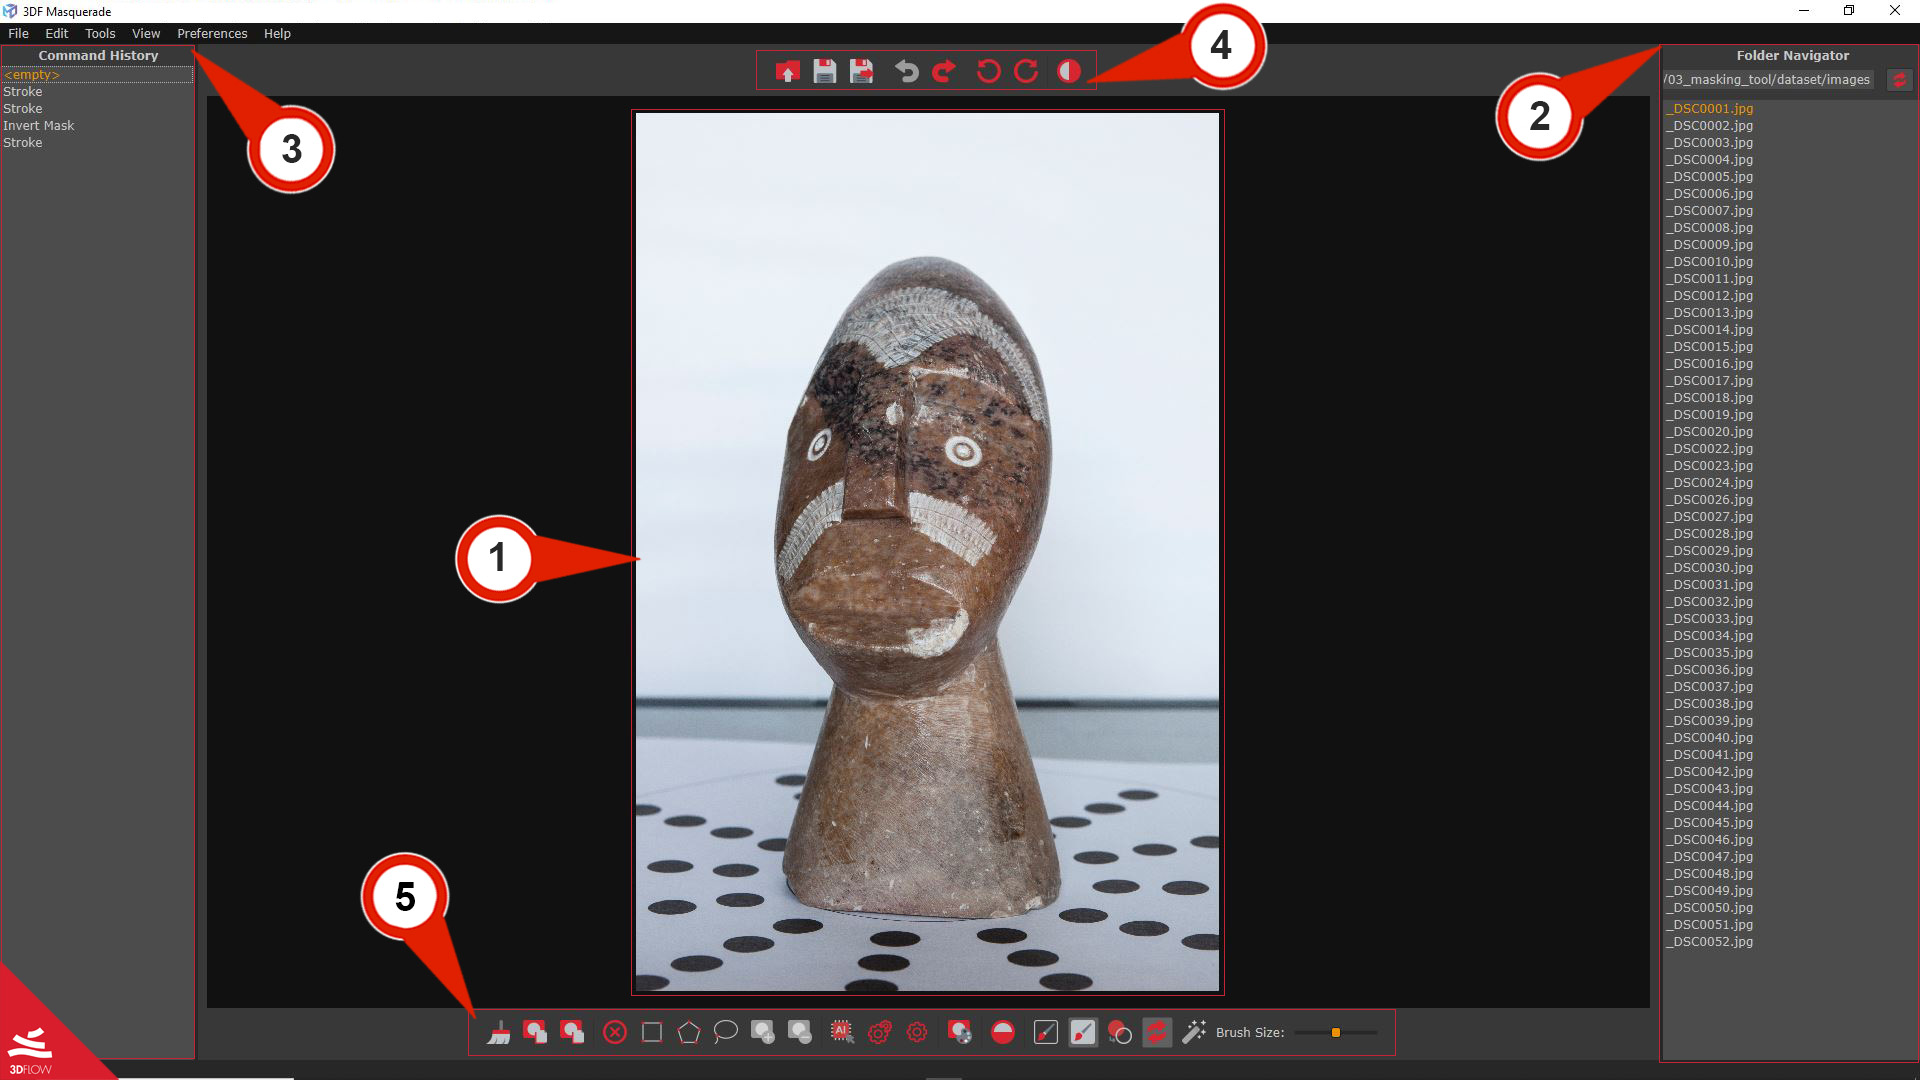
Masking workspace (1) – allow to visualize each picture and work with the masks tools.
Command history (2) – can be used to undo/redo actions taken in 3DF Masquerade
Folder Navigator (3) – This panel, facilitates quick navigation through images, that will be associated with created masks and marked with a “(M)” symbol. Right-clicking within the panel provides access to the following commands:
- Select All: Selects all listed images and their corresponding masks.
- Show in Explorer: Opens the folder containing the selected image and highlights it.
- Delete Mask for This Image: Permanently removes the mask associated with the selected image from the folder.
Note: Using the Select All and then use the “Delete Mask for This Image” commands will permanently delete all masks in the current project.
Upper toolbar (4) – provides quick access to core comand for saving and managing the masks.
Tools toolbar (5) – it contains several tools for masks/unmask images
 | Load image :the command allows to select an image load all the pictures inside Masquerade. |
 | Save: this command allows to save the mask just modified |
 | Save and go next: the command allows to save the modified mask and go to the next image automatically |
| Undo / Rendo: this command allows undoing or redoing previously performed actions. |

| Rotate clockwise / Rotate counter-clockwise: this command allows rotating the image. |
 | B/W Mask: this command allows viewing the black-and-white mask of each image. |


Clear mask and Strokes: the command allows to cancel the image current mask and all the strokes made with the brush tools. | |
 | Copy current mask to next image: this command allow to copy the mask to the current image to the next one. |
| Copy current mask to all next images: this command allow to copy the mask of the current image to all the other images of the project. |
 | Cancel selected tool: the command allows cancelling the current selected tool. |
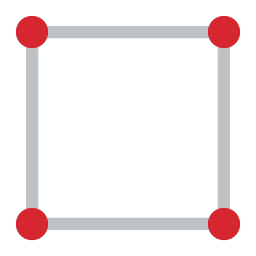 | Rectangle selection: this command enables the creation of a selection by dragging a rectangle. Pressing the “+” key generates a new mask over the selected area of the image. |
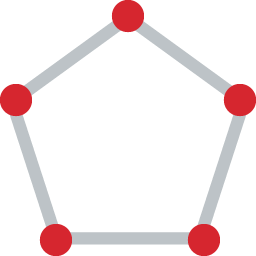 | Polygon selection: this command allows the addition of nodes to a polygon path using the cursor’s left-click. The path is automatically closed by double-clicking. Pressing “+” creates a new mask over the selected portion of the image. |
 | Lasso selection: this command allows the selection of the images with the lasso mode. Pressing “+” creates a new mask over the selected portion of the image. |
 | Add Mask to selected area: this command allows to add the selection to the current mask |
 | Clear mask from selected area: this button allows to clear a selection from the current mask |
 | Select automagic algorithm model: this button allow to select the machine learning model which will be used by the automatic computation algorithm. |
 | Automatic masking for all images: this button allows to compute automatically all the masks of the remaining images. |
 | Automatic masking for the current image: this button allows to compute the mask automatically for the current image. |
 | Mask from colors: this button allow to create a mask starting from RGB colors. The tool can be use to select a color from the image background and then the Threshold and the Gauss iter settings to set the range of color for masking. |
 | Invert current mask: this command allows to invert the mask |
 | Mask foreground stroke: this command activate the brush tool for marking the image’s parts to include in the mask. |
 | Mask background stroke: this command activate the brush tool for marking the image’s parts to exclude from the mask. |
 | Masks to strokes: this button allow to convert the masks on the current images to strokes. |
 | Automated masking after each stroke: this command toggle the automated masking computation after each stroke is marked on the image. |
 | Compute mask from strokes: this button allow to auto-compute the current image after both Foreground and Background strokes are marked. Note: it can be enabled only when the “Automated masking after each stroke ” is disabled. |
 | Brush size: the brush size slider allows to set the dimensions for the Foreground and the Background stroke tools. |
Automatic masking
Automatic masking in Zephyr uses a machine learning model to quickly generate masks from images, reducing the need for manual editing, it can be applied both during the New Project Wizard setup and within the Masquerade interface using the Automagic tool.
Automatic masking with the New project wizard
The Automatic masking can be used through the creation of a new project from: the Workflow > New Project Wizard.
On the first page, ensure that the “Setup Masks” (1) checkbox is selected. Clicking the “Next” button advances to the Photo Selection page, where images can be loaded automatically.
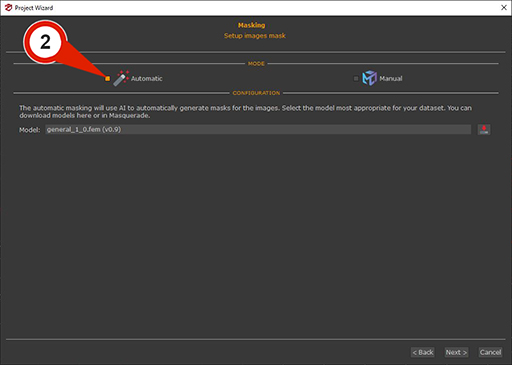
Clicking “Next” button again let to proceed to the Masking page, where the “Automatic” (2) checkbox should be selected.
To use Automatic masking, an AI model must be selected or downloaded from the Model drop-down menu. The General model is optimized for generic use and is particularly effective for close-range datasets.
Proceed with the “Next” button to finalize the New project creation setup. In the last page, click the “Run” button, the Automatic masking will be computed for the cameras.
Automatic masking with Masquerade
The Masquerade Automagic tool is designed to automatically create masks by leveraging pre-trained machine learning models.
Step 1 – Download the AI model
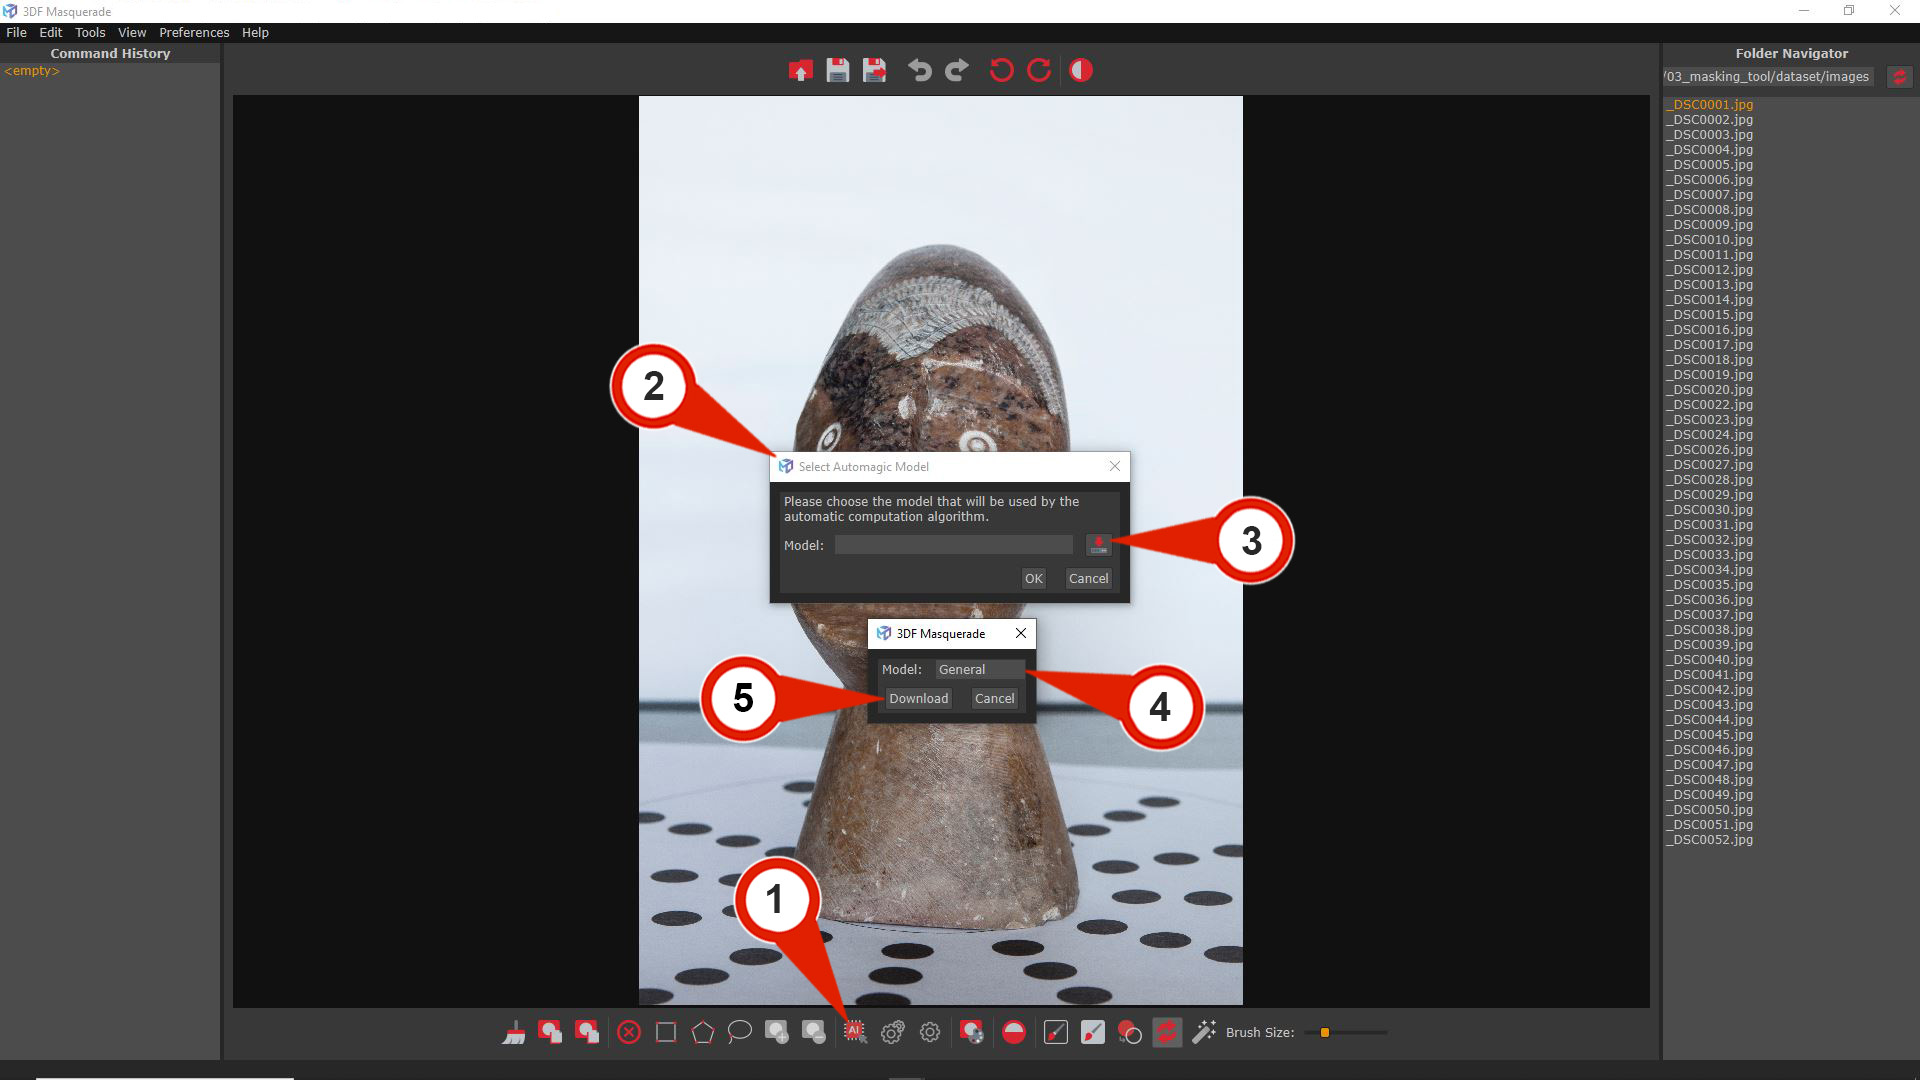
To use the tool, click the “Select Automagic Model” (1) button to open the Select Automagic Model (2) window. From here, a machine learning model can be selected. If no models have been downloaded, or to download a new one, the “Download” (3) button can be press to open the Download dialog. The desired model can be chosen from the Model (4) drop-down menu: General is optimized for general use, particularly effective for close-range datasets.
After selecting the model, click the “Download” (5) button to confirm.
Step 2 – The Automagic tool use
Once the download is complete, the model will be available for use with the Automagic tool to generate masks.
The following commands are available in the lower toolbar:
- “Automatic masking for the current image” [

- “Automatic masking for all images” [

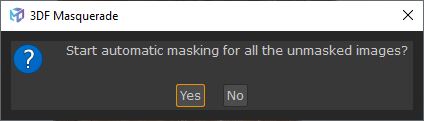
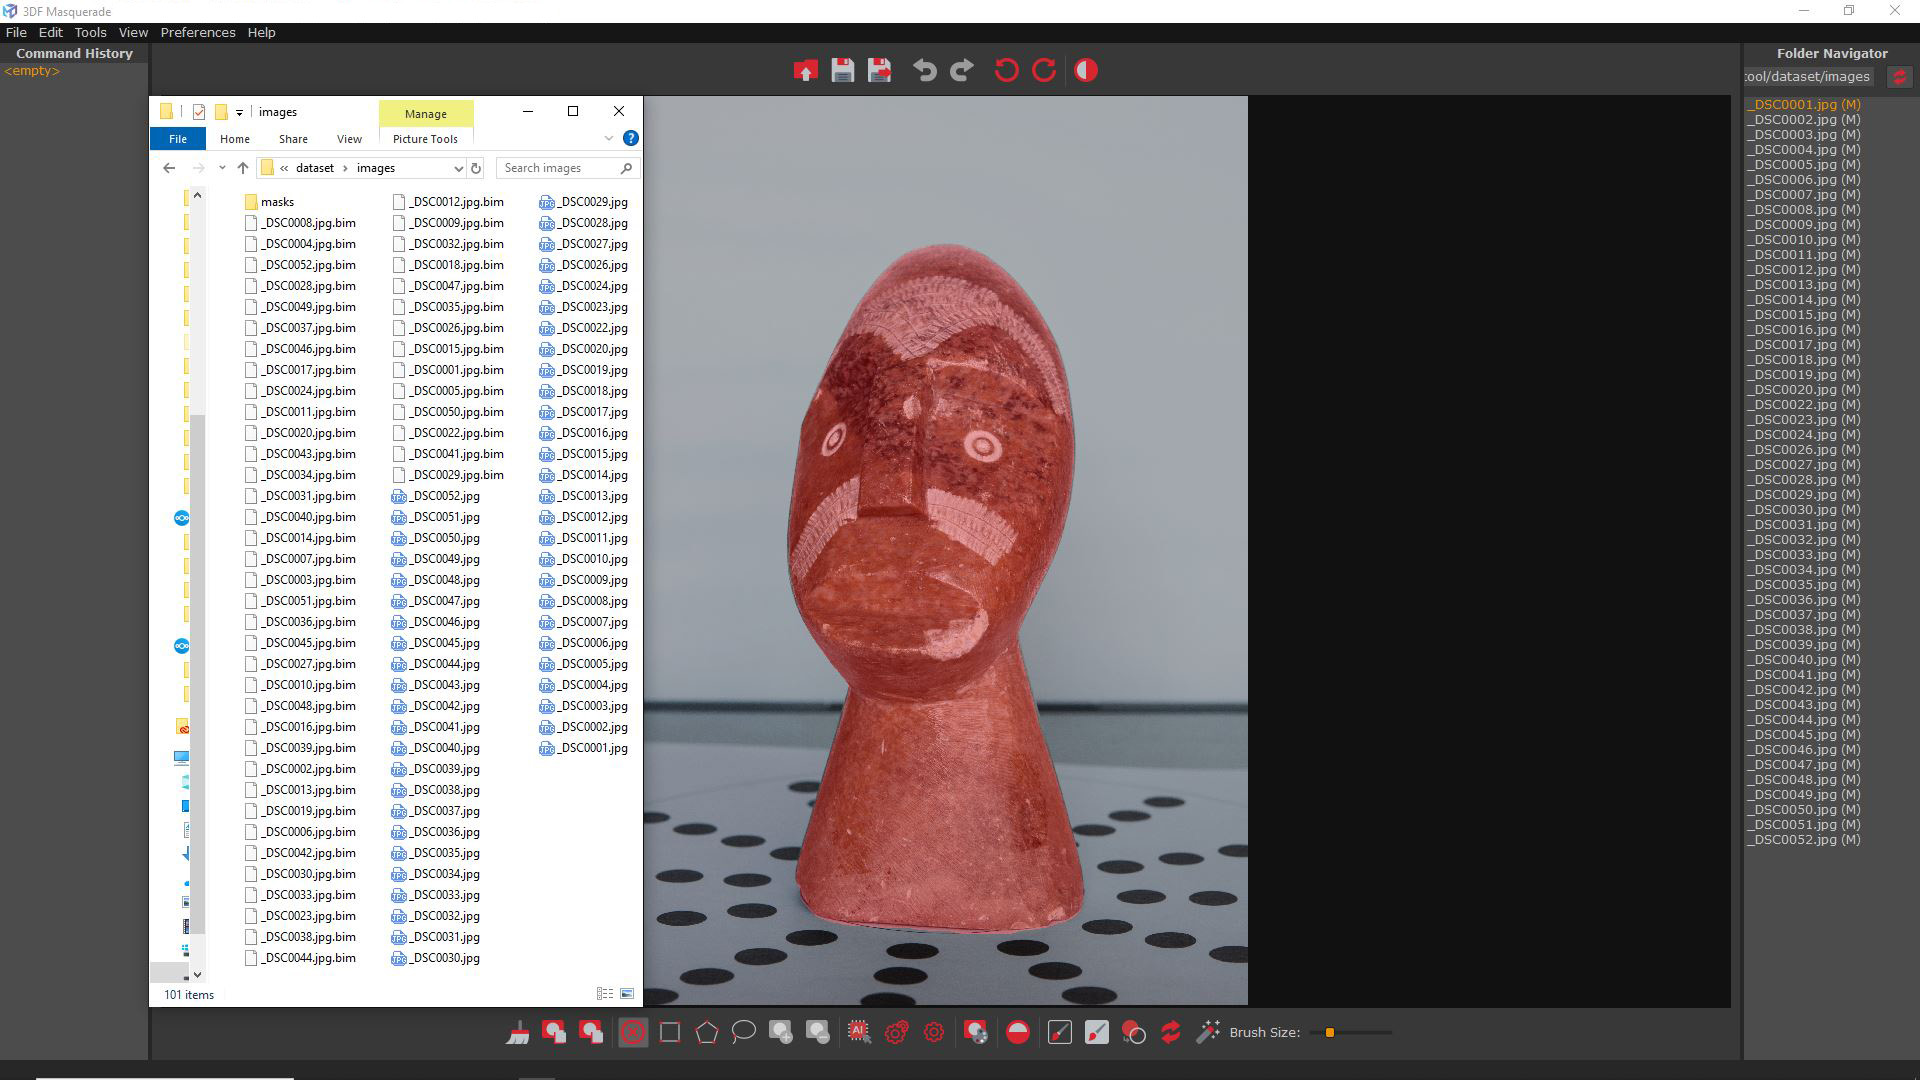
Choosing “YES” will allow Masquerade to generate masks for all images, which will appear in the Folder Navigator marked with “(M)” symbol. Every image of will have a mask in .bim format saved in the directory.
Step – Edit the created automatic masks
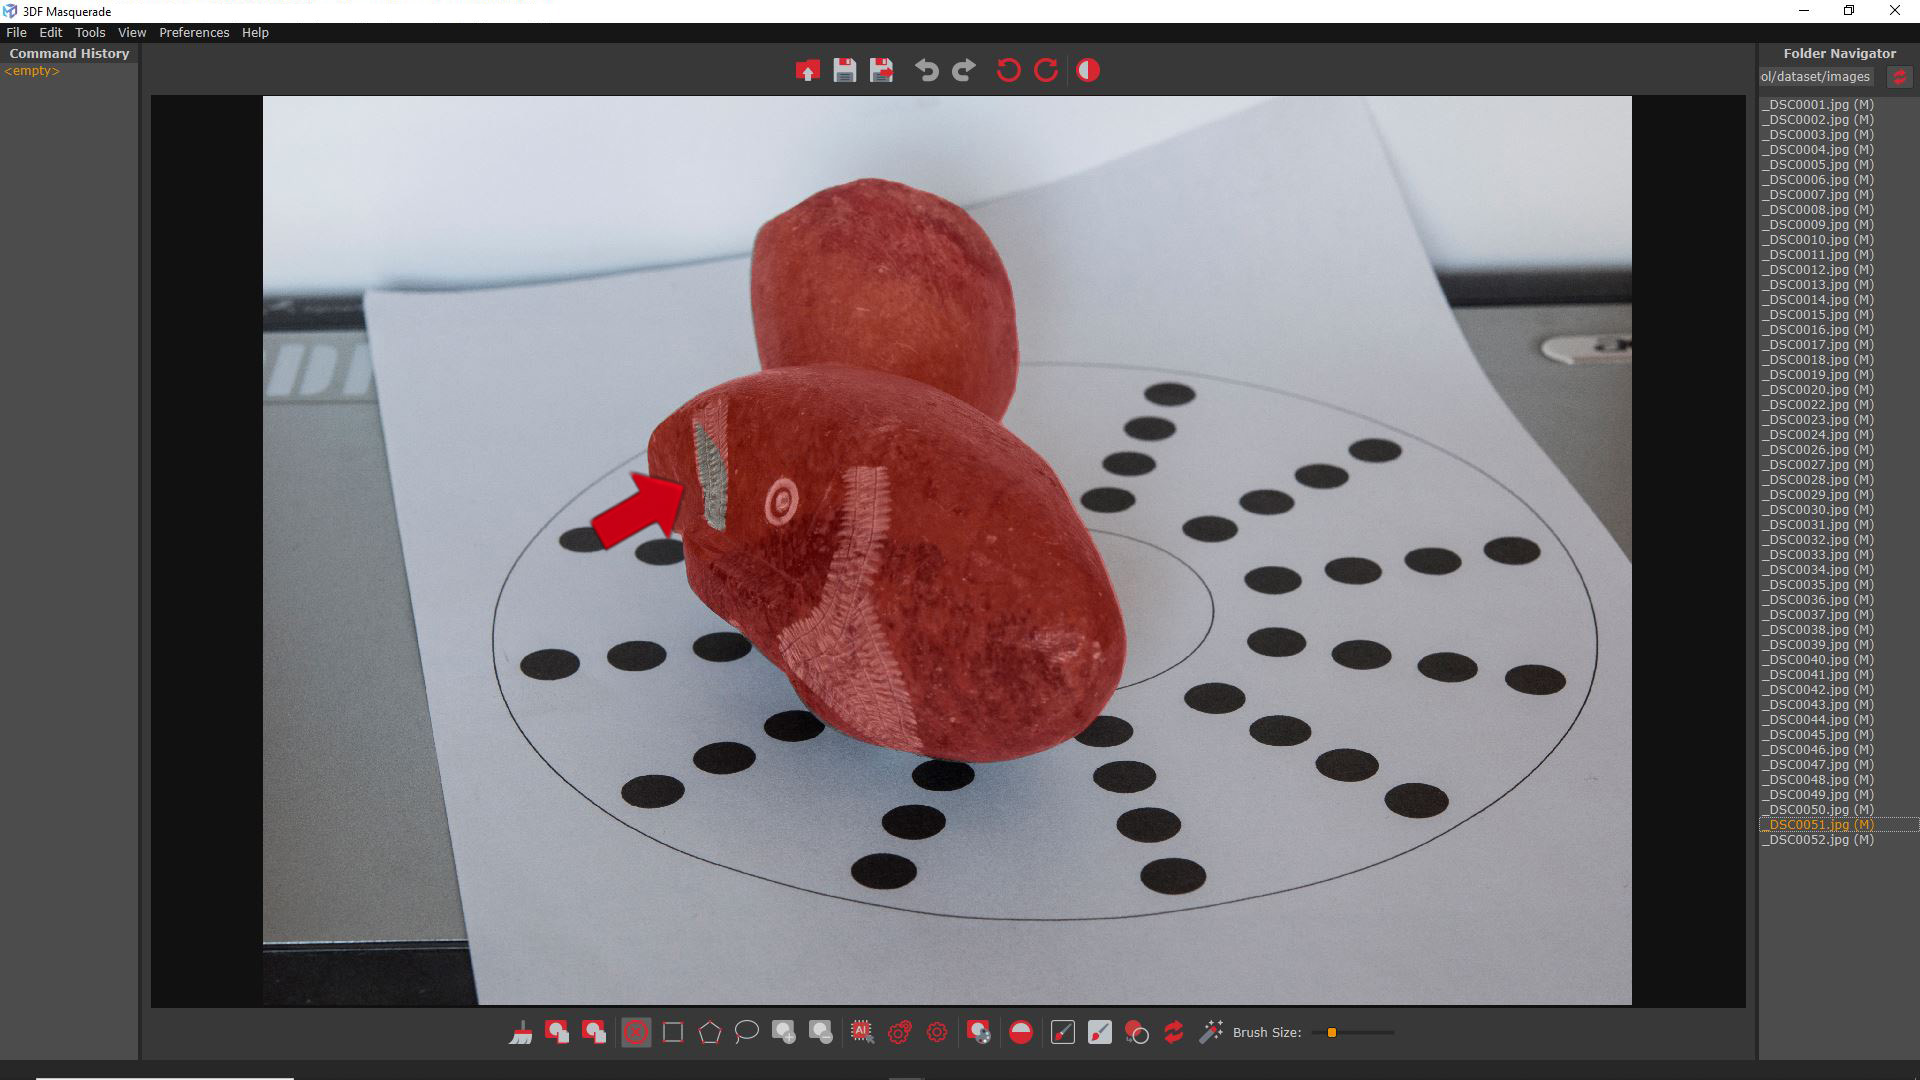
In some cases, if the subject is rotated, the Automagic tool may leave some unmasked spot, as shown in the example below.
The “Convert mask to stroke” (8) command allows you to transform the mask into editable strokes. This enables the use of the Brush tools to adjust the strokes and refine the mask. Once the edits are complete, click the “Compute mask” (9) button to confirm the mask modifications.
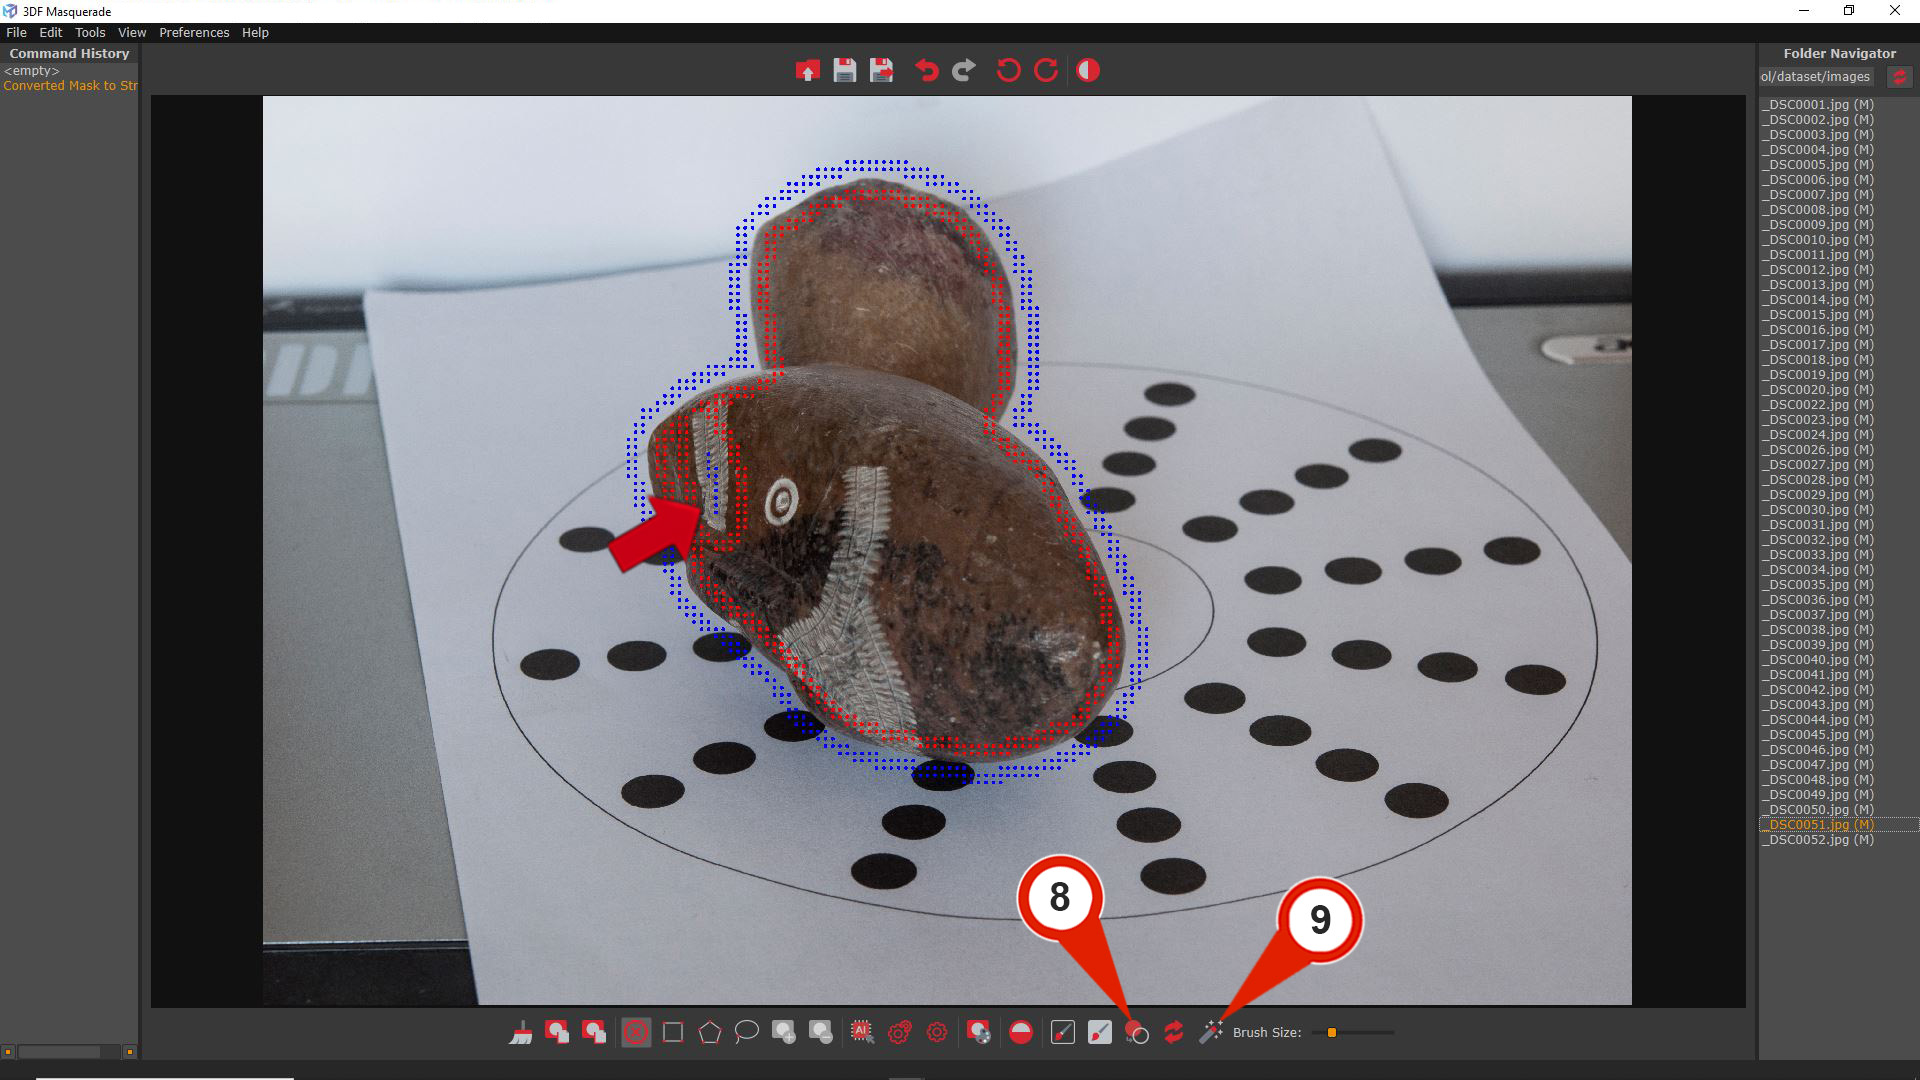
As shown in the image below, the mask has been fixed thanks to the mark created by the brush.


Manual masking
Creating the masks with the Selection tools
Selection Tools allow you to mask specific areas of the subject with precision. When a selection is made, it is highlighted with a blue overlay. As the mask is applied, the overlay turns red.
All three tools follow the same fundamental workflow: drag the cursor over the desired area, then click the “Mask Selection” button [
Below is an example demonstrating the application of selection tools:
- Rectangle selection: it works dragging a rectangle and clicking the “Mask selection” button to mask the selected area.
- Polygon selection: use the mouse “left-click” button to add nodes to the polygon path and double-click to automatically close it. Click the “Mask selection” button to mask the selected area.
- Lasso selection: drag the lasso and click the “Mask selection” button to mask the selected area.

Creating masks with the Brush tools
The Brush tools (also known as the Silhouetter tools) are used to manually create masks or refine those generated by the Automagic tool.
3DF Masquerade uses its algorithm to propagate the mask automatically, leveraging the strokes provided by the user. High contrast between the background and the subject improves the tool’s effectiveness in generating accurate masks.
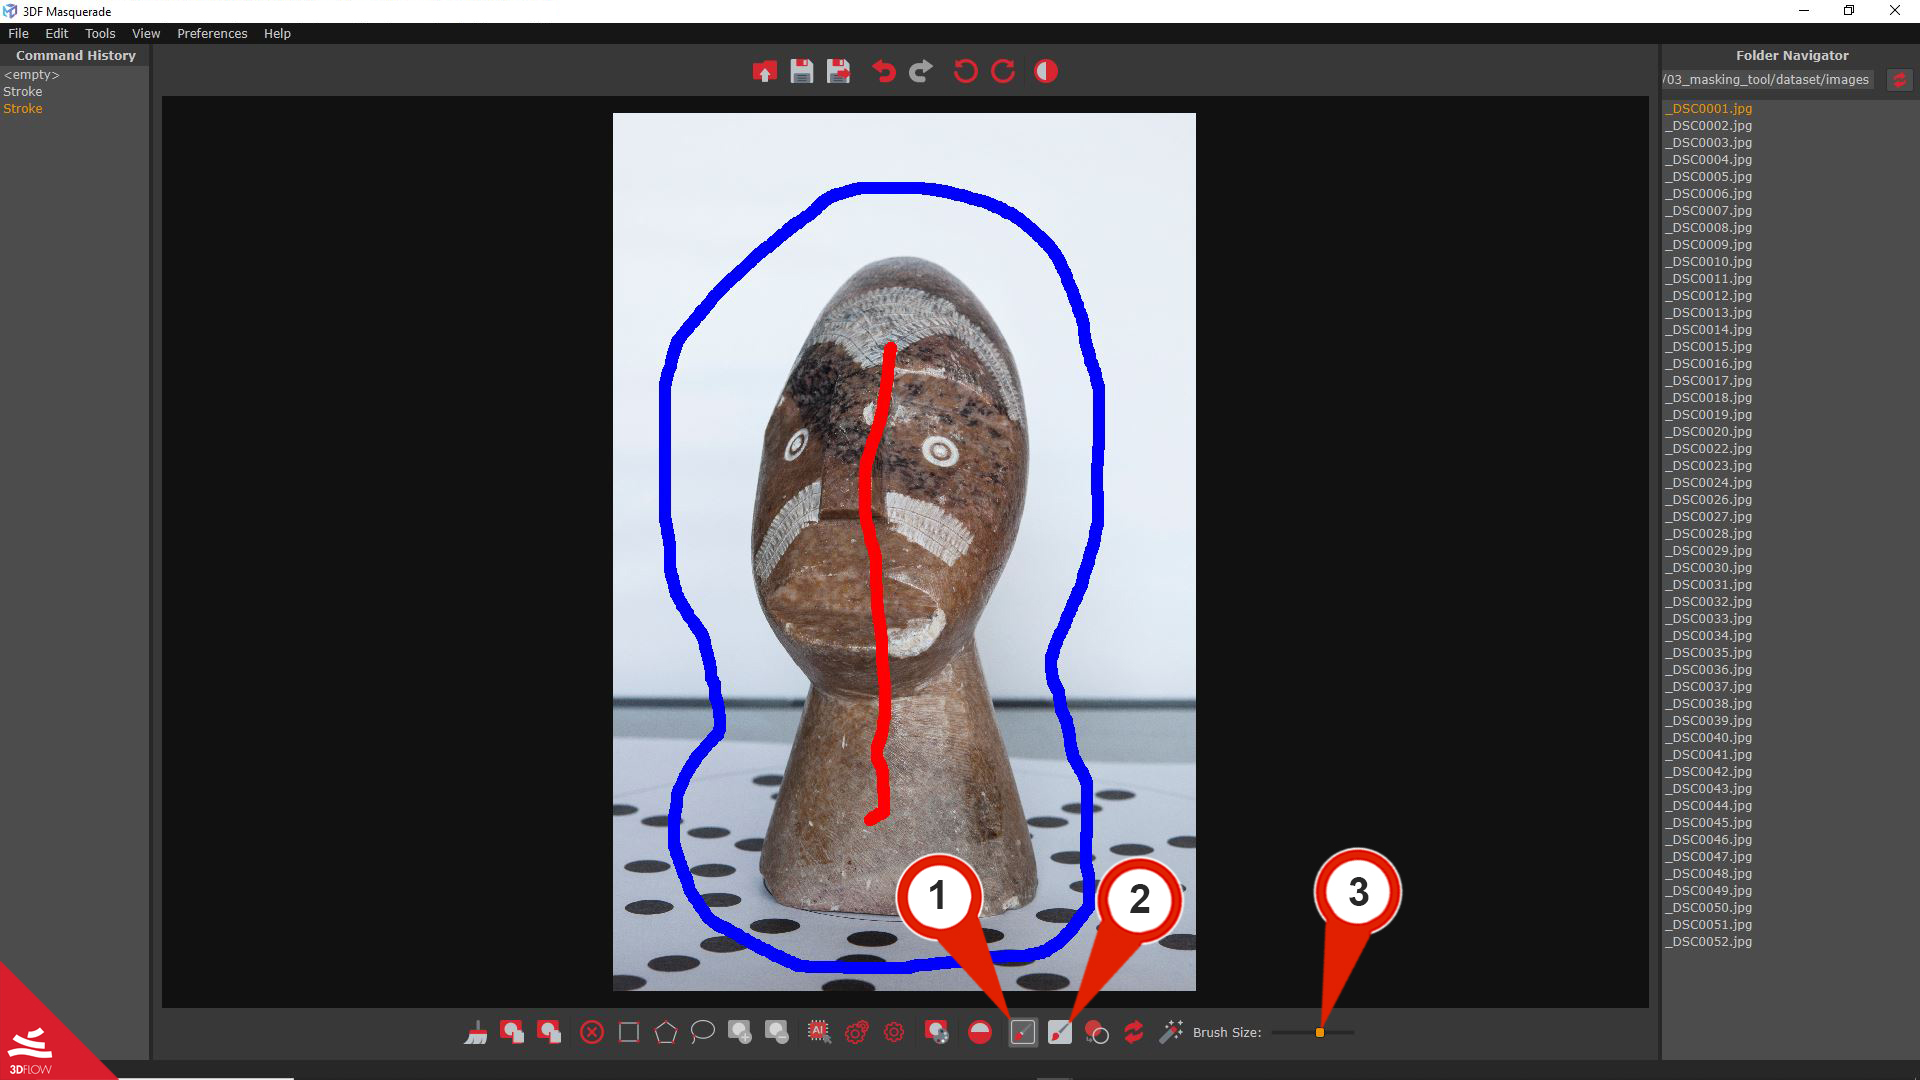
The tool requires at least the following strokes to function:
- Foreground stroke (red): Areas marked with the red stroke will be included in the mask.
- Background stroke (blue): Areas marked with the blue stroke will be excluded from the mask.
To start using the tool, click on the “Foreground stroke” (1) button to activate the red stroke, then left-mouse to mark areas of the image. To mark the background, either click the “Background stroke” (2) button or hold the “shift” key drawing with the “left-mouse” for applying the blue stroke.
The brush size can be adjusted using the Brush size slider (3).
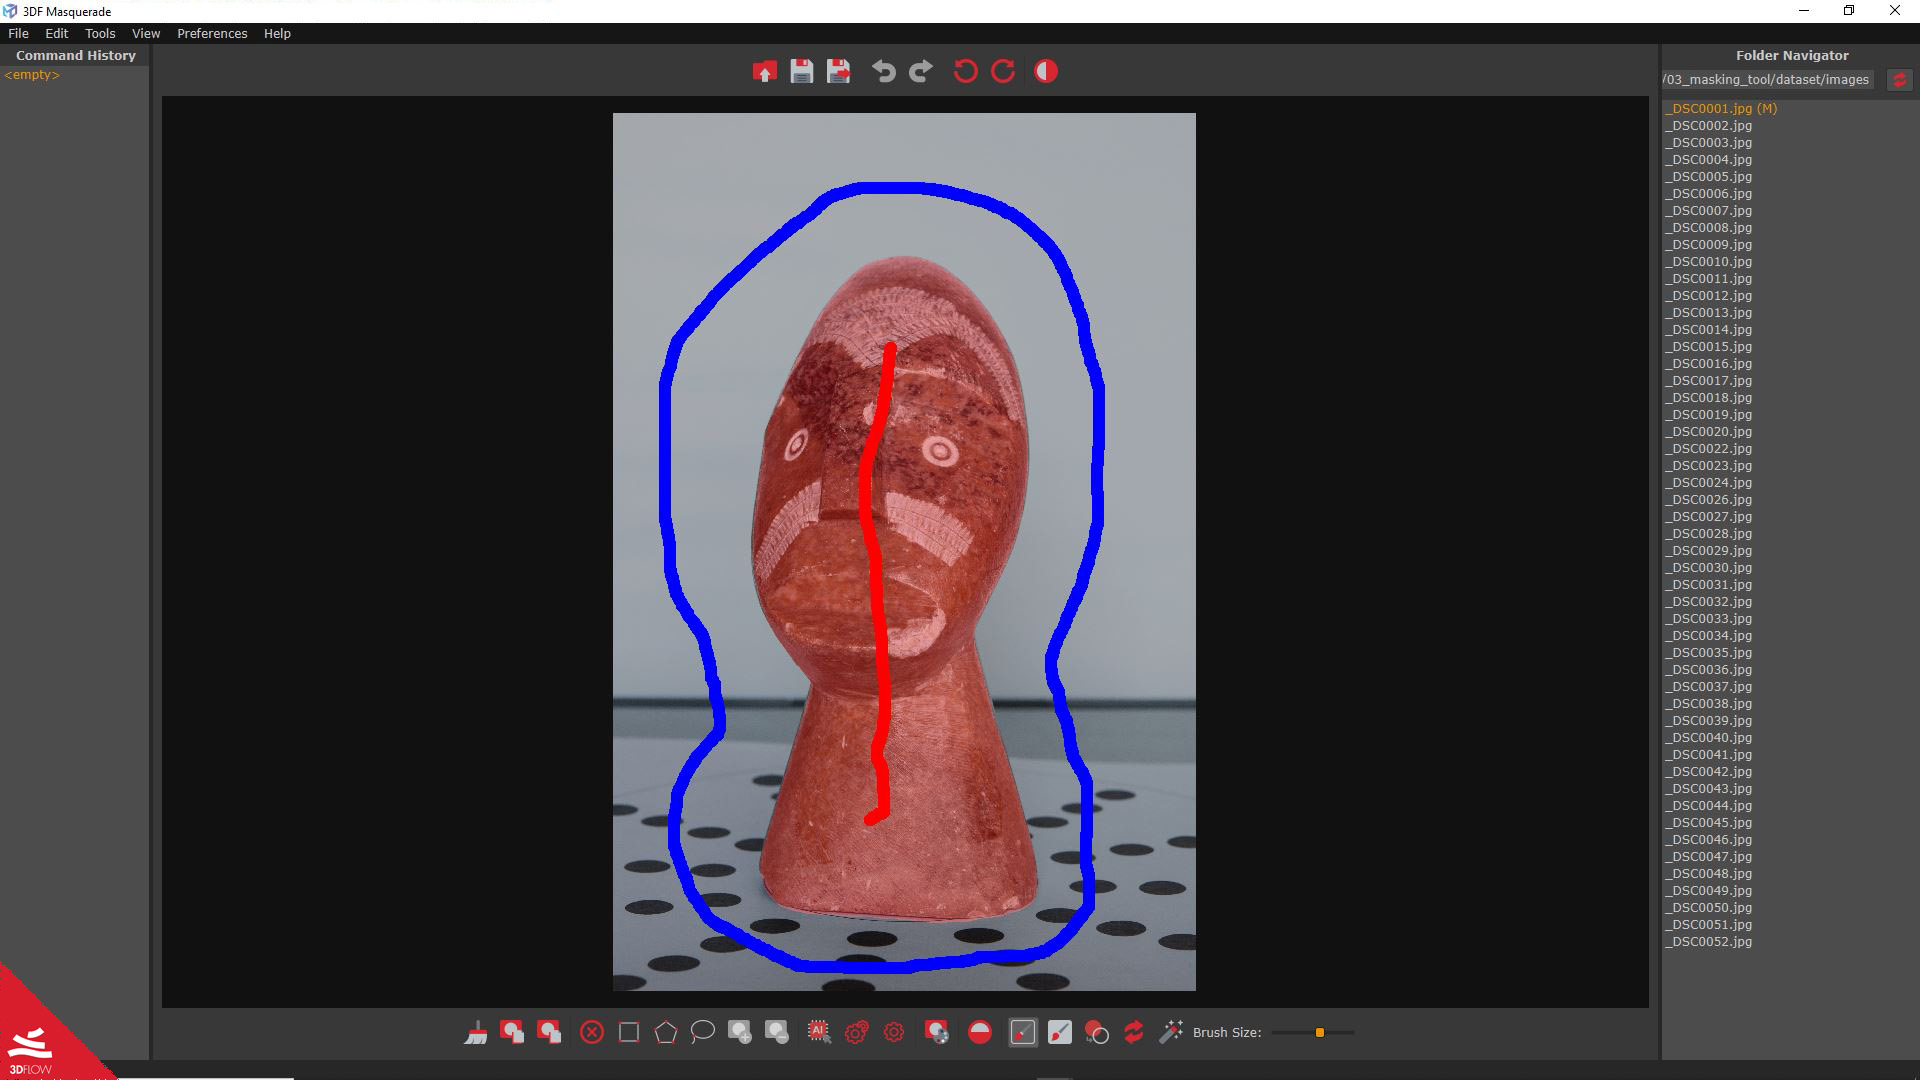
Clicking on the “Compute mask” button [
The “Automated Masking after each stroke” command [
Load the masks
All created mask files (.bim) in the image directory are detected automatically. However, when returning to the New project creation section in 3DF Zephyr, the masks might not load automatically. In that case, simply click the “Refresh” button, with this option will be possible to locate the masks folder and update the path.